Index and Query Unimon Contracts with GhostGraph


Overview
In this tutorial, you will learn how to index the Unimon contract using GhostGraph.
What Is Ghost and Why It Matters?
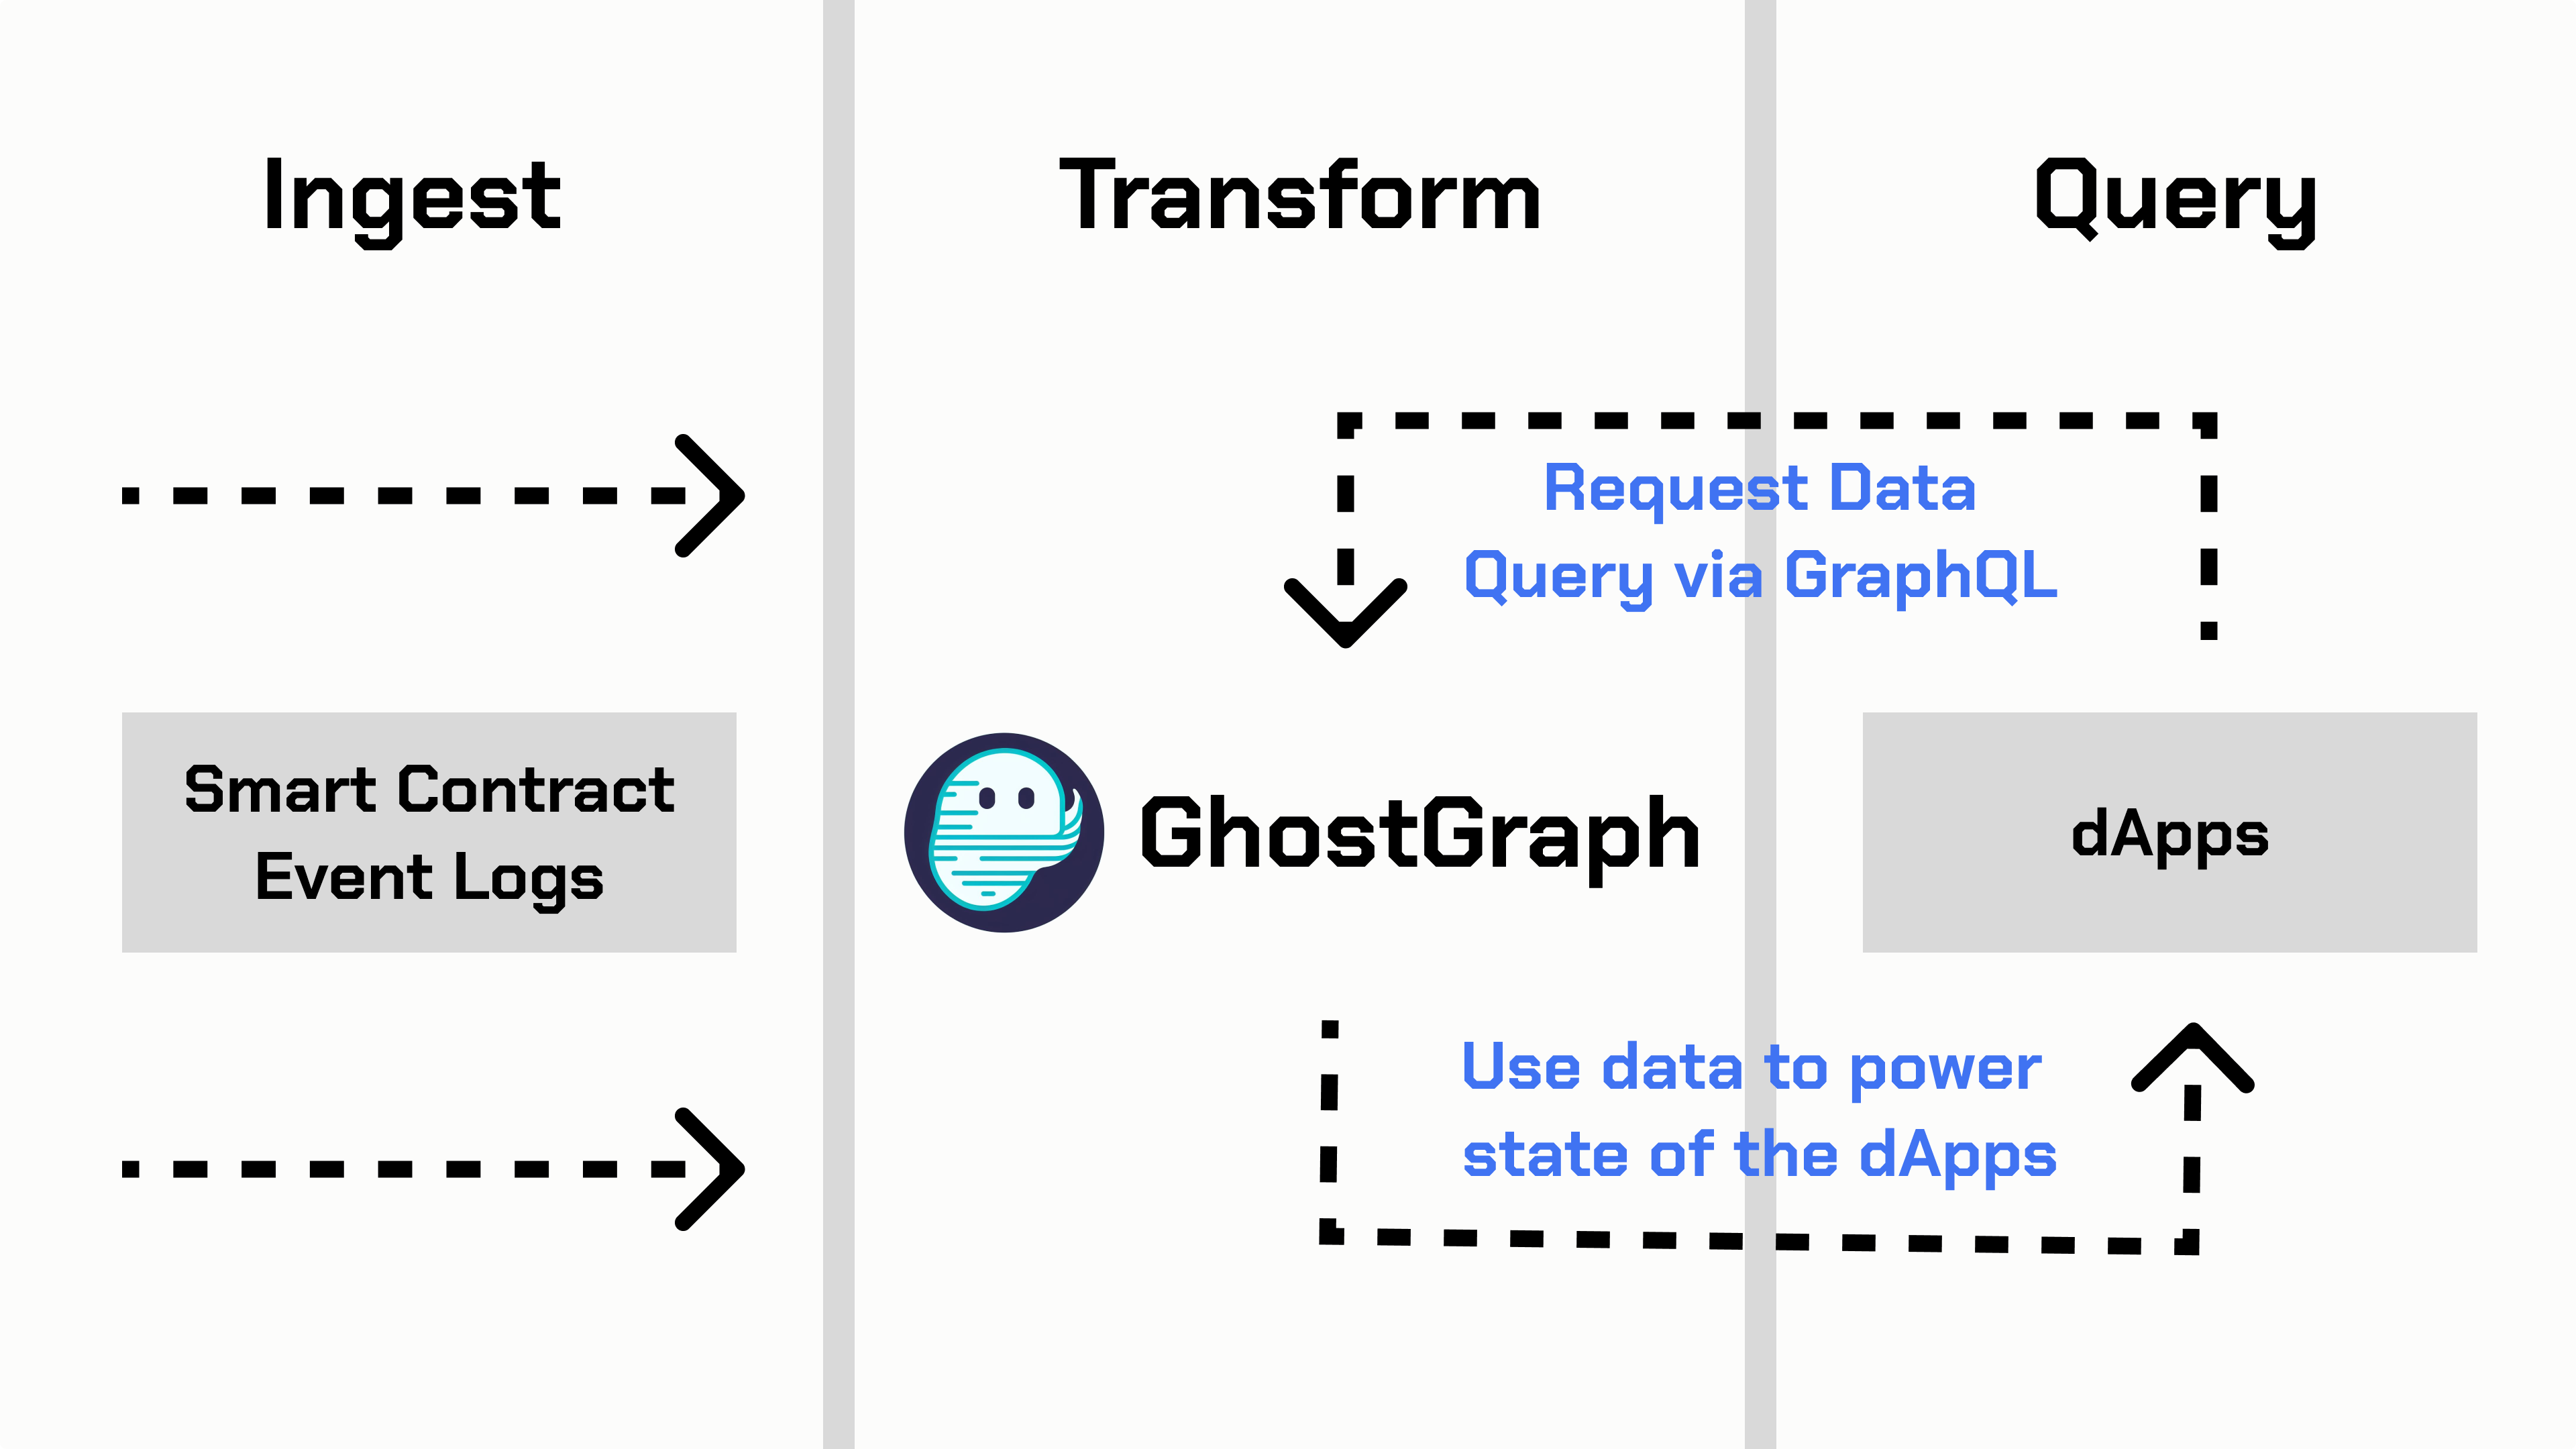
On-chain data are public but can be difficult to fetch and index. Ghost is a next-generation, browser-based indexer that simplifies this process.
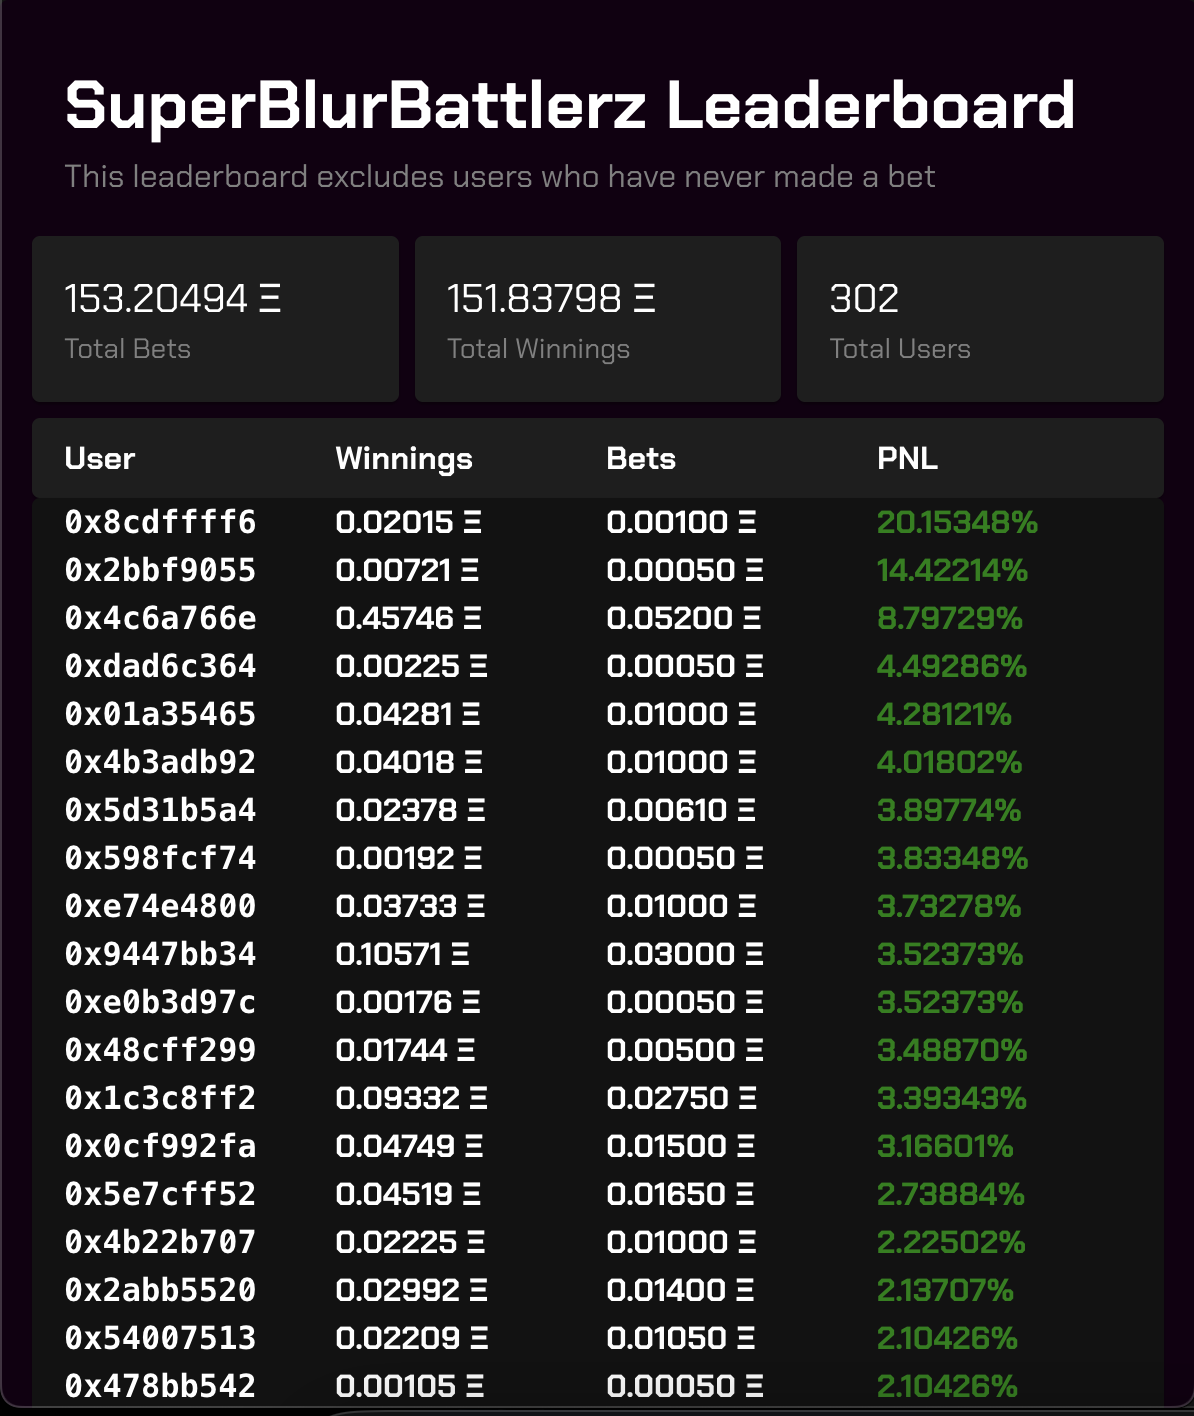
What Is Unimon?
Unimon is the first NFT and Game created in a Uniswap V4 Hook and has become one of the top 5 NFT Collections on Unichain. GhostGraph was utilized to power the daily game battle cycles and leaderboard, leading to a seamless and clear experience for hundreds of players.
Visual Learners?
Prerequisites
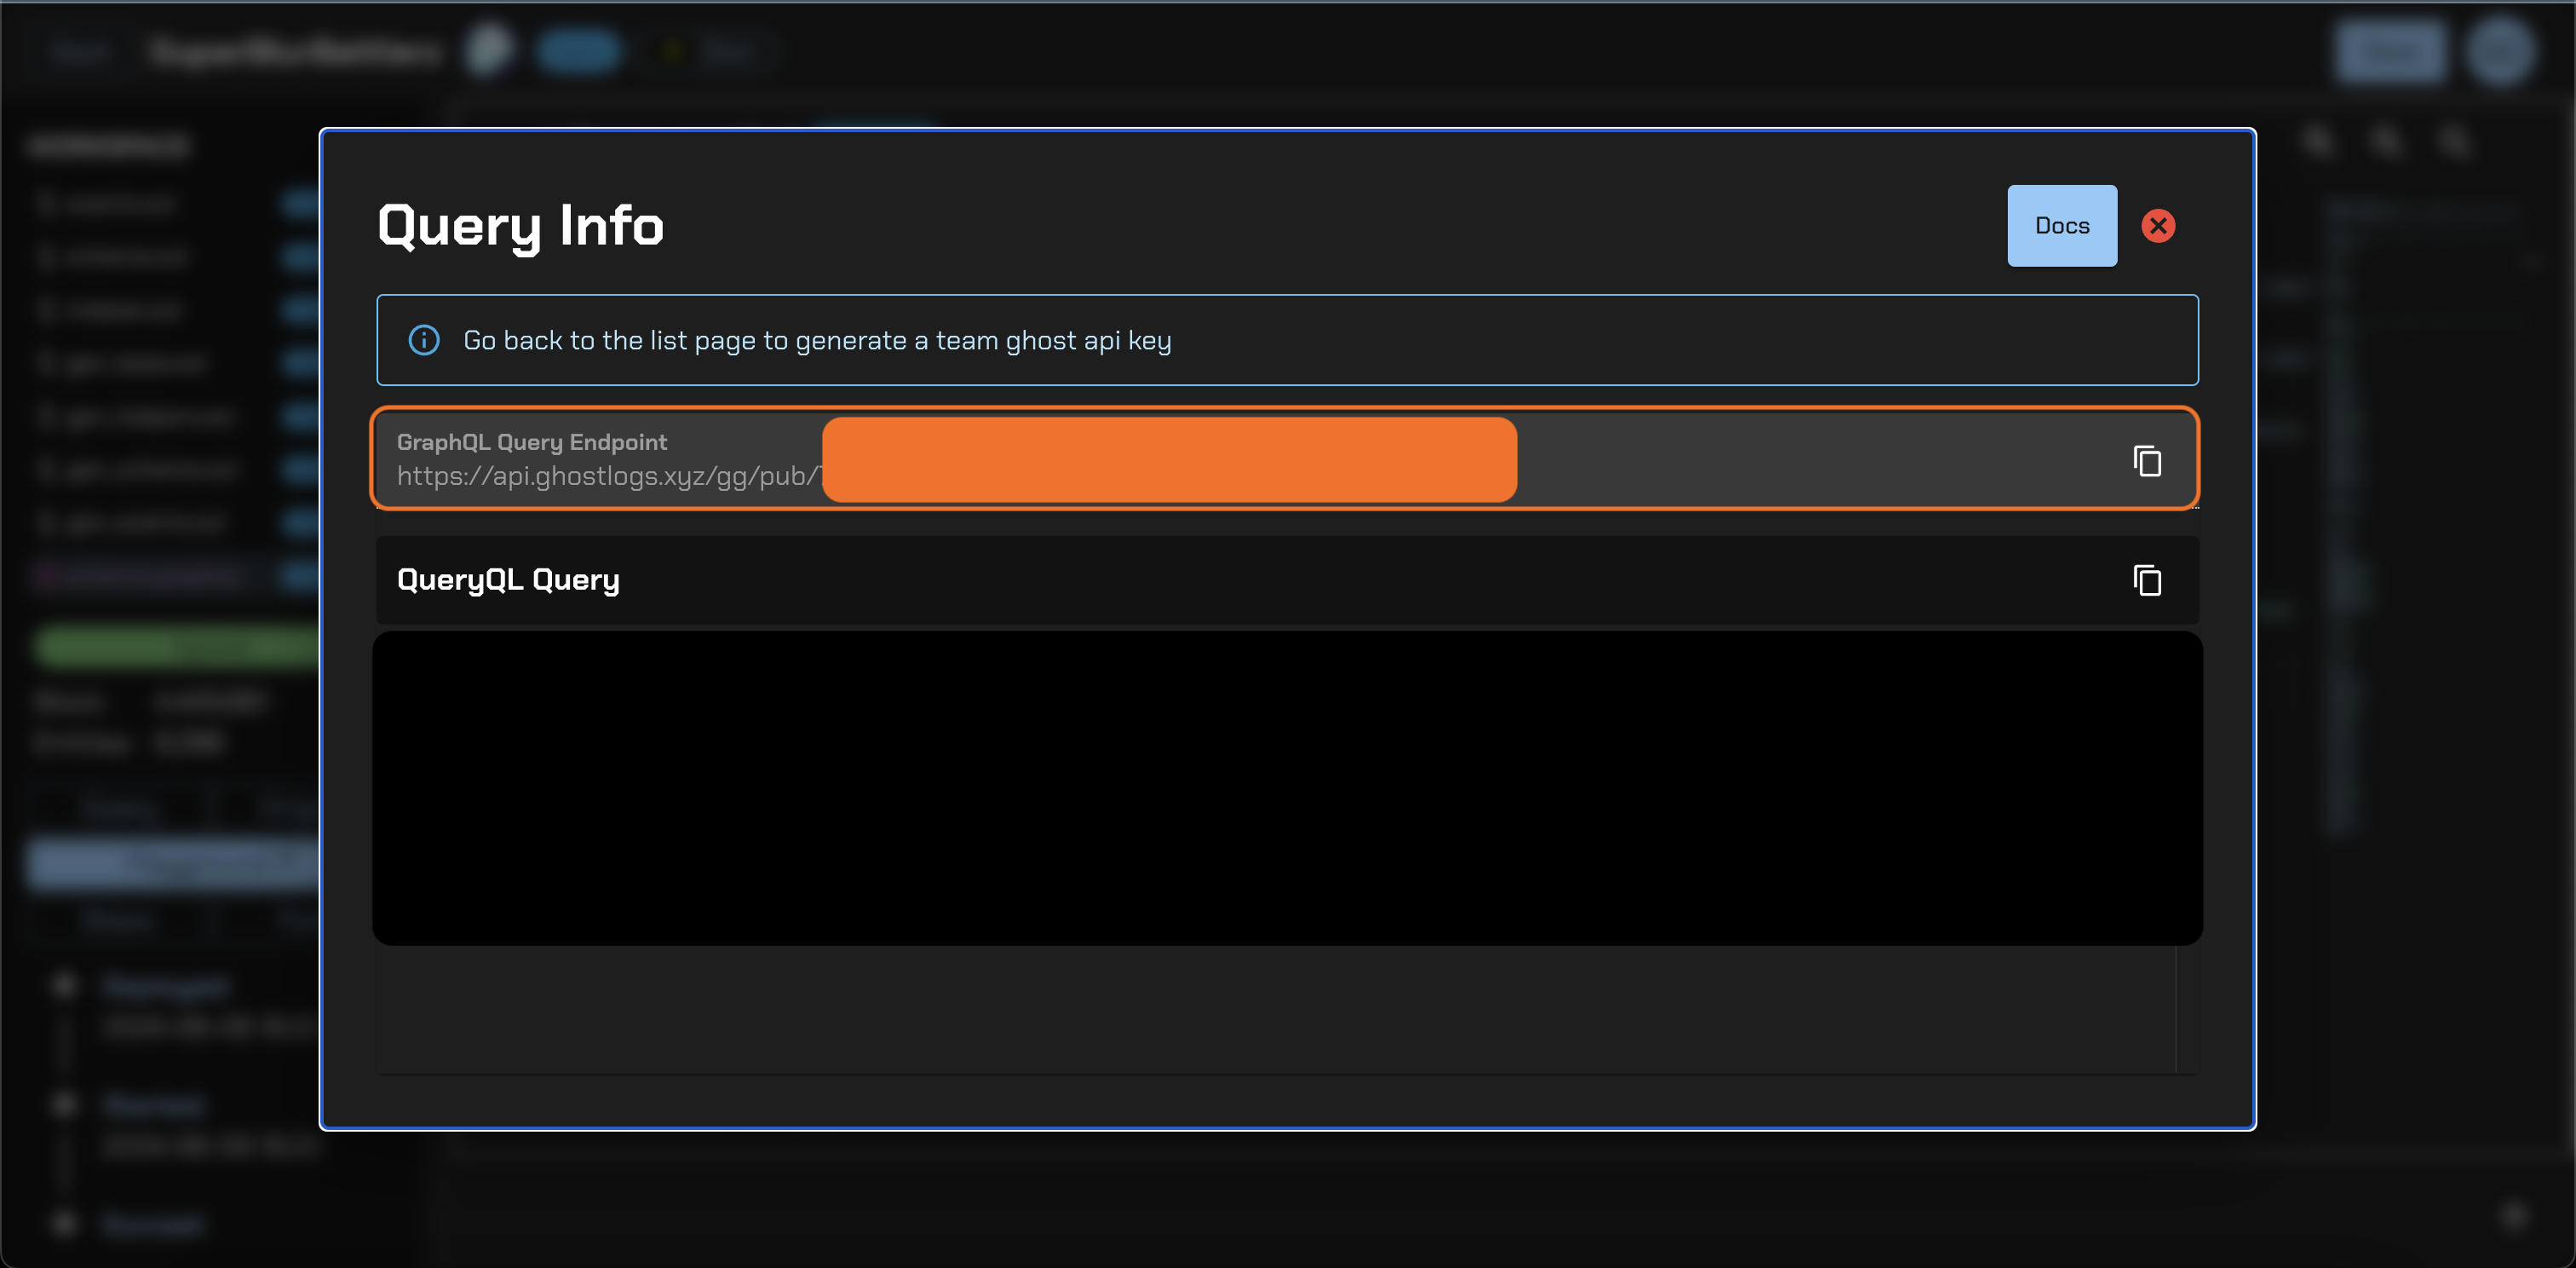
- A Ghost developer account. Sign up at: https://app.ghostlogs.xyz/ghostgraph/sign-up
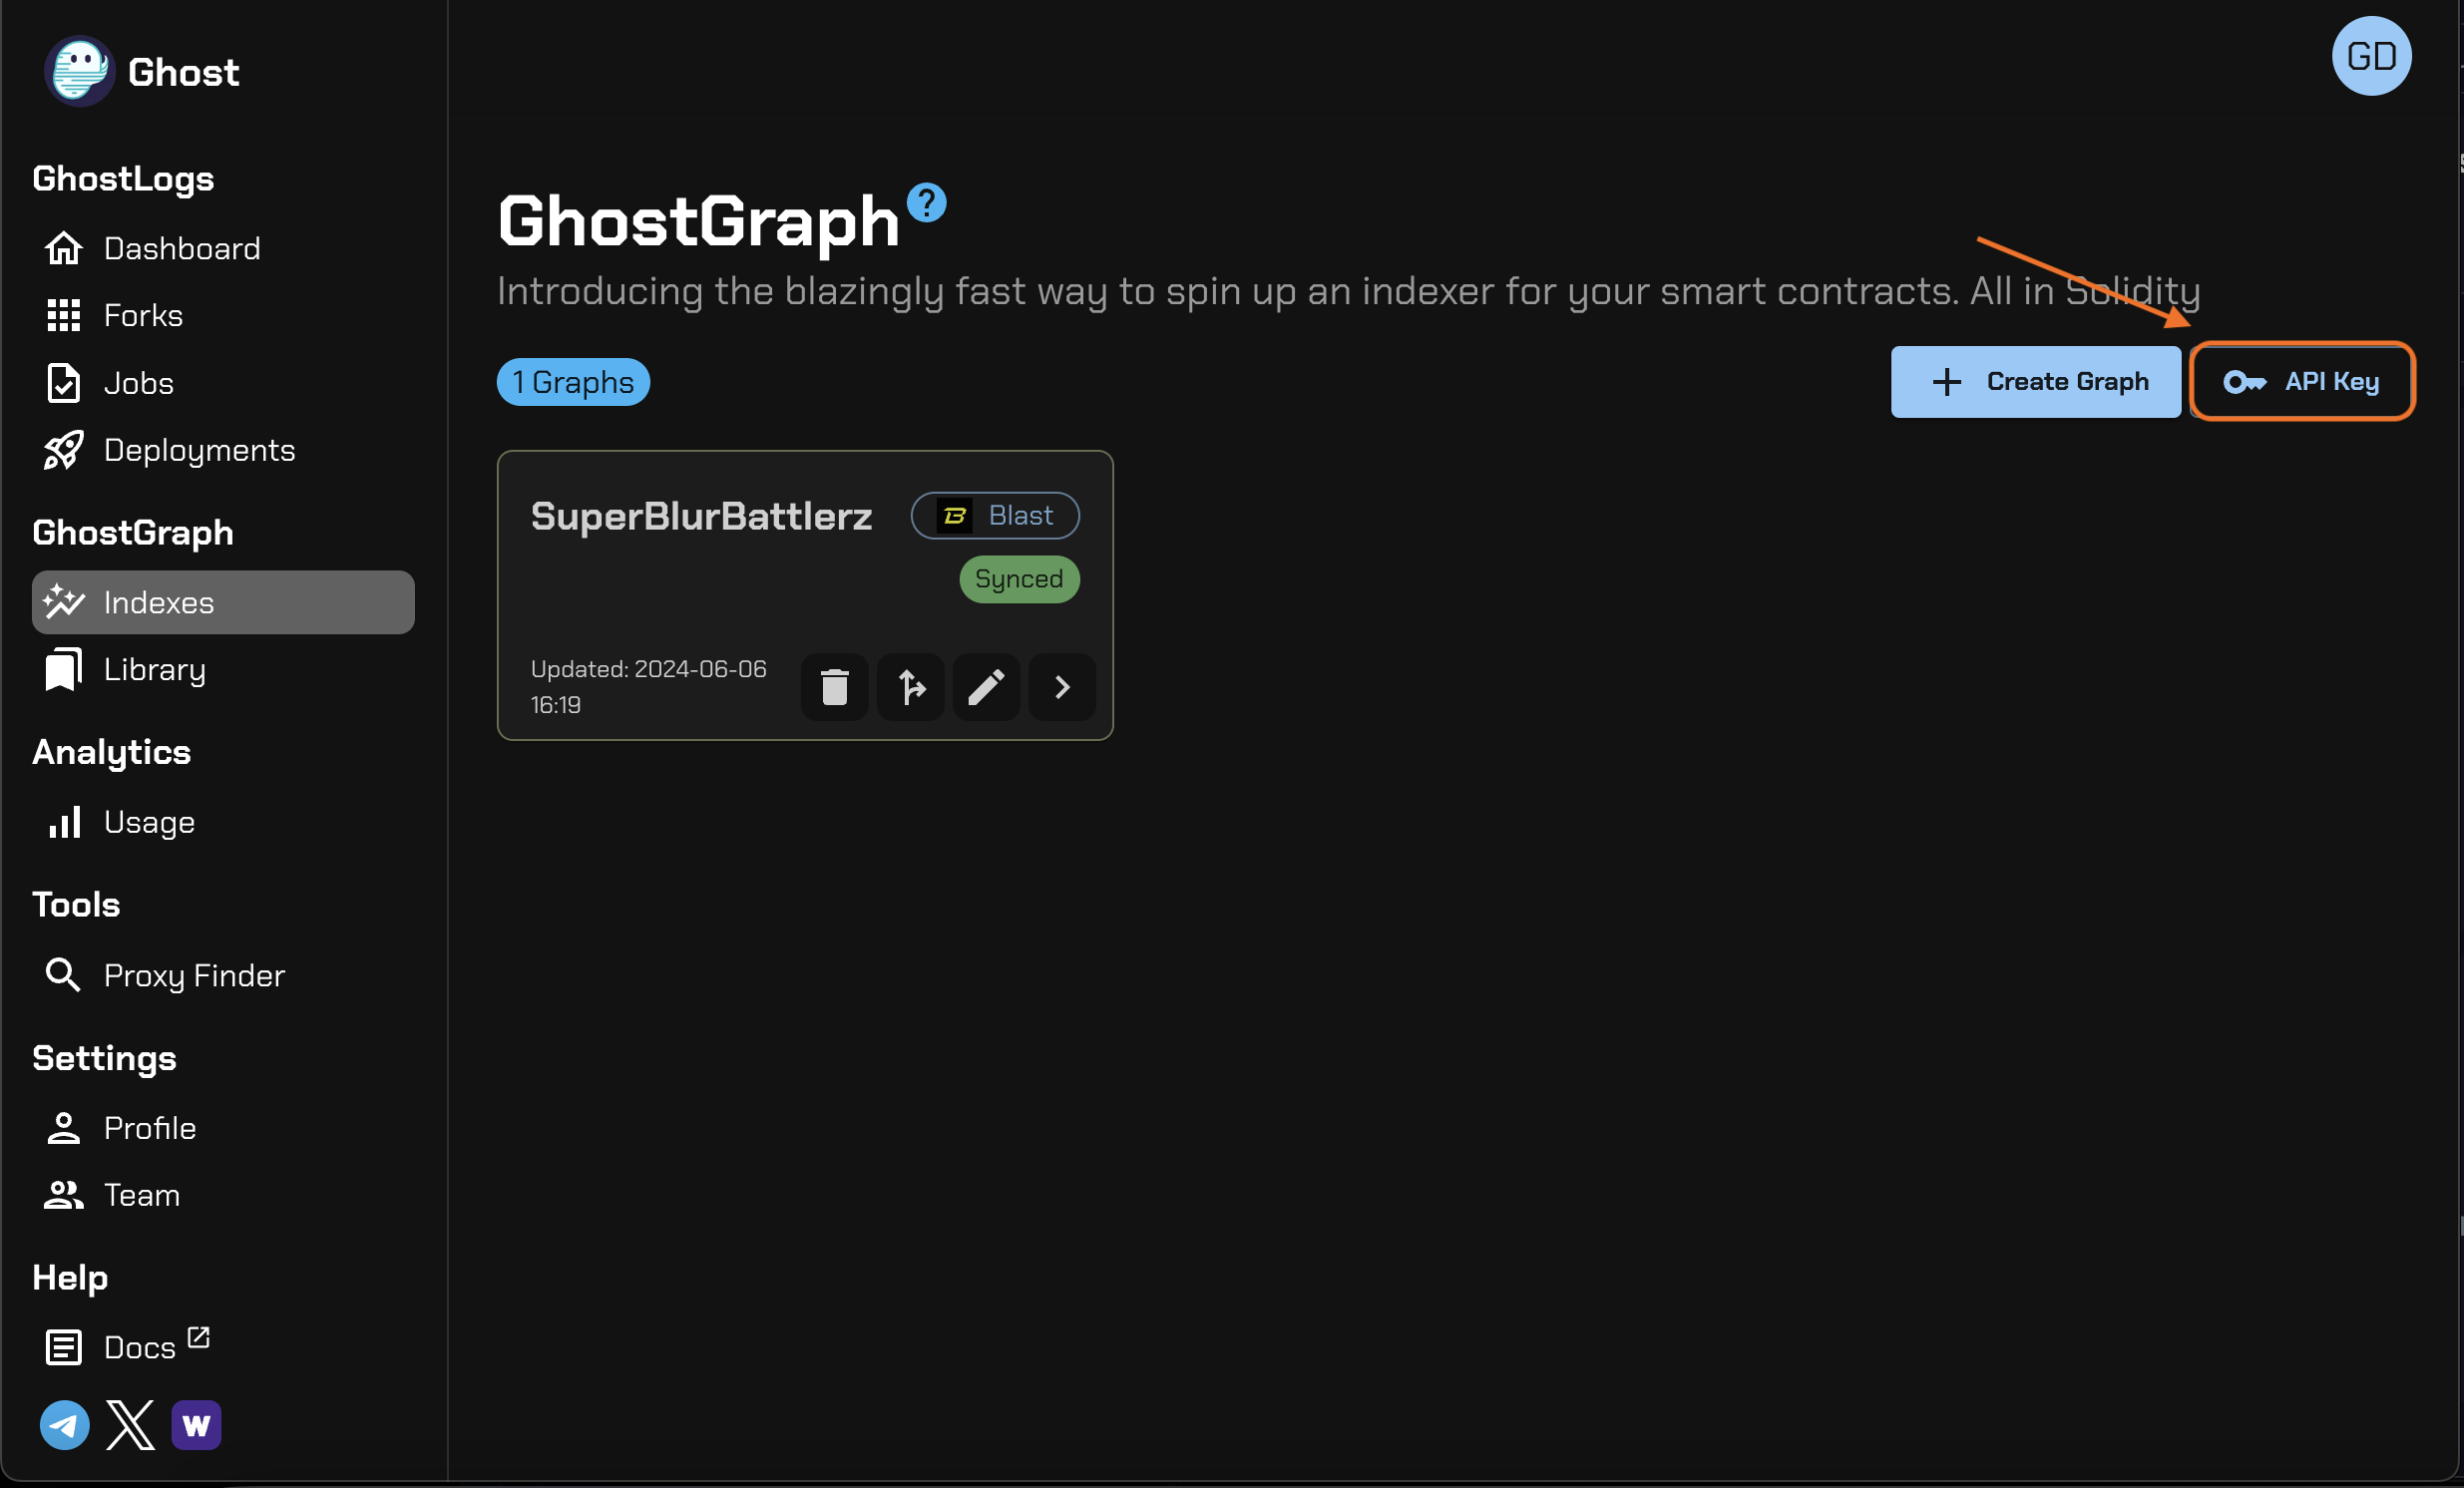
Getting Started
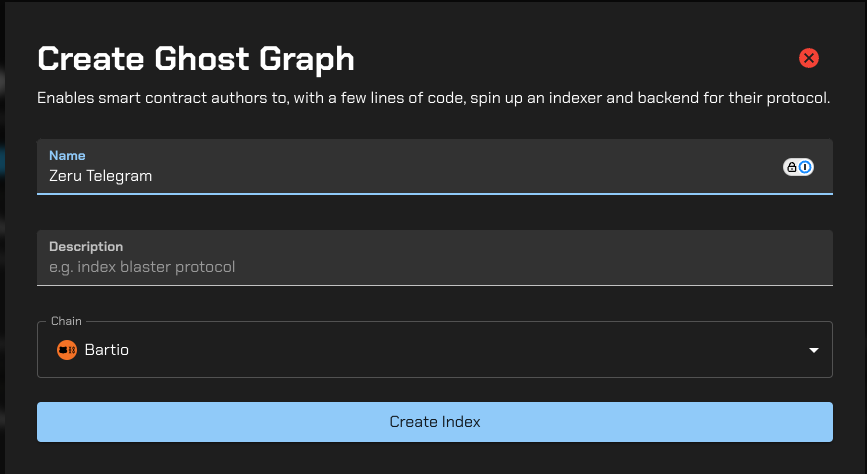
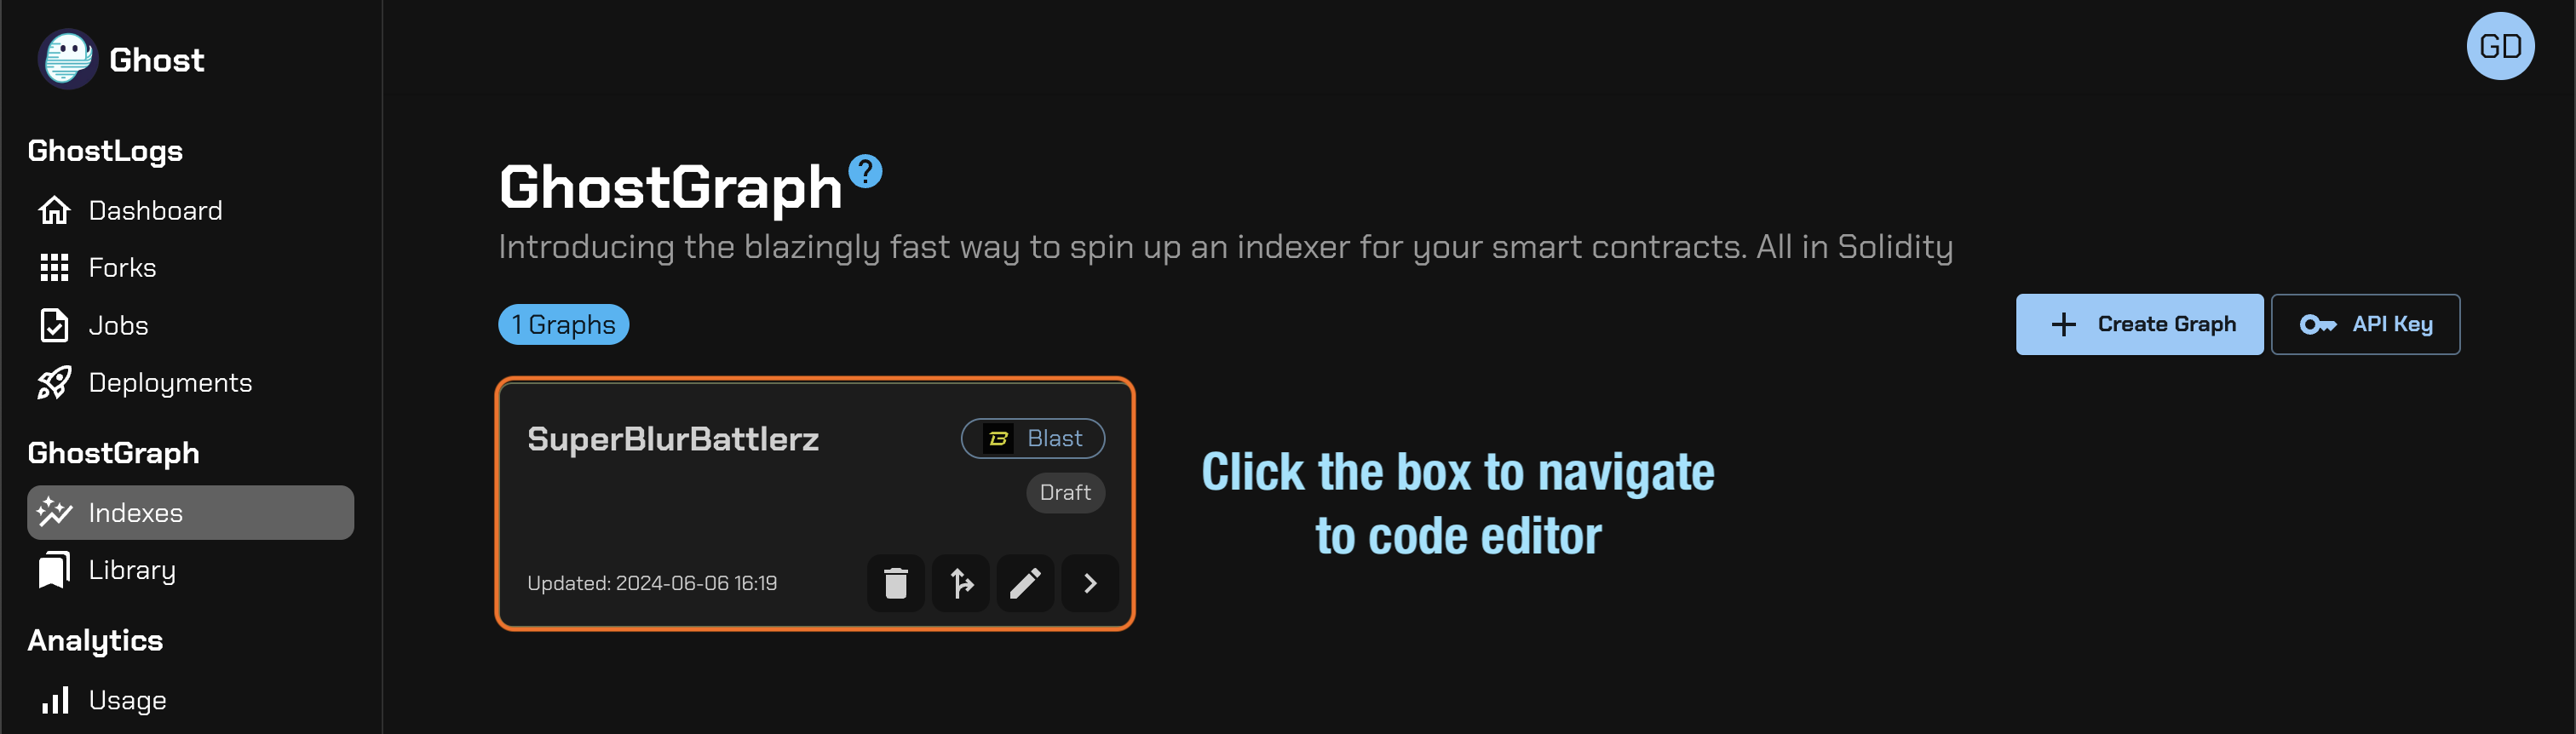
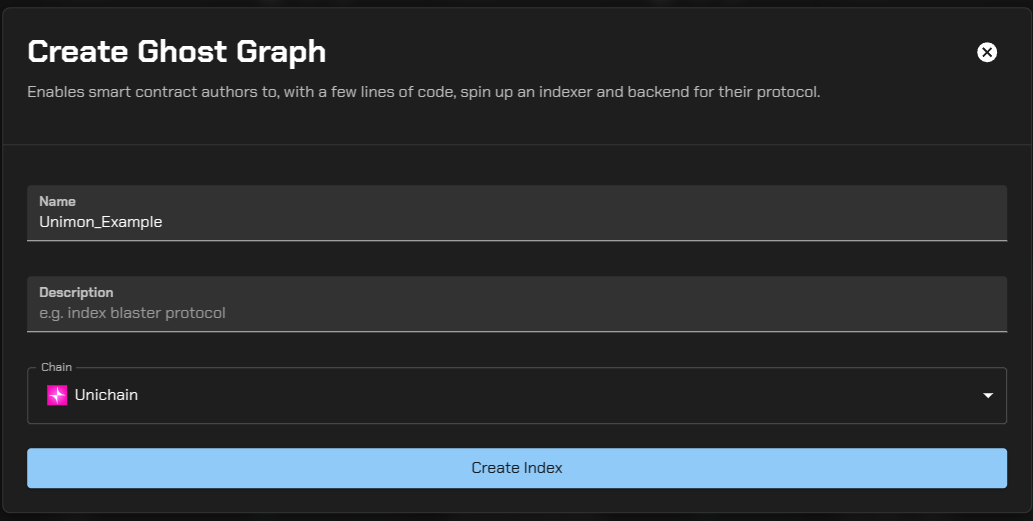
- Log in to your Ghost account and click Indexes in the left panel.
- Create a new graph and select Unichain as the network.
- Open the graph in the code editor.
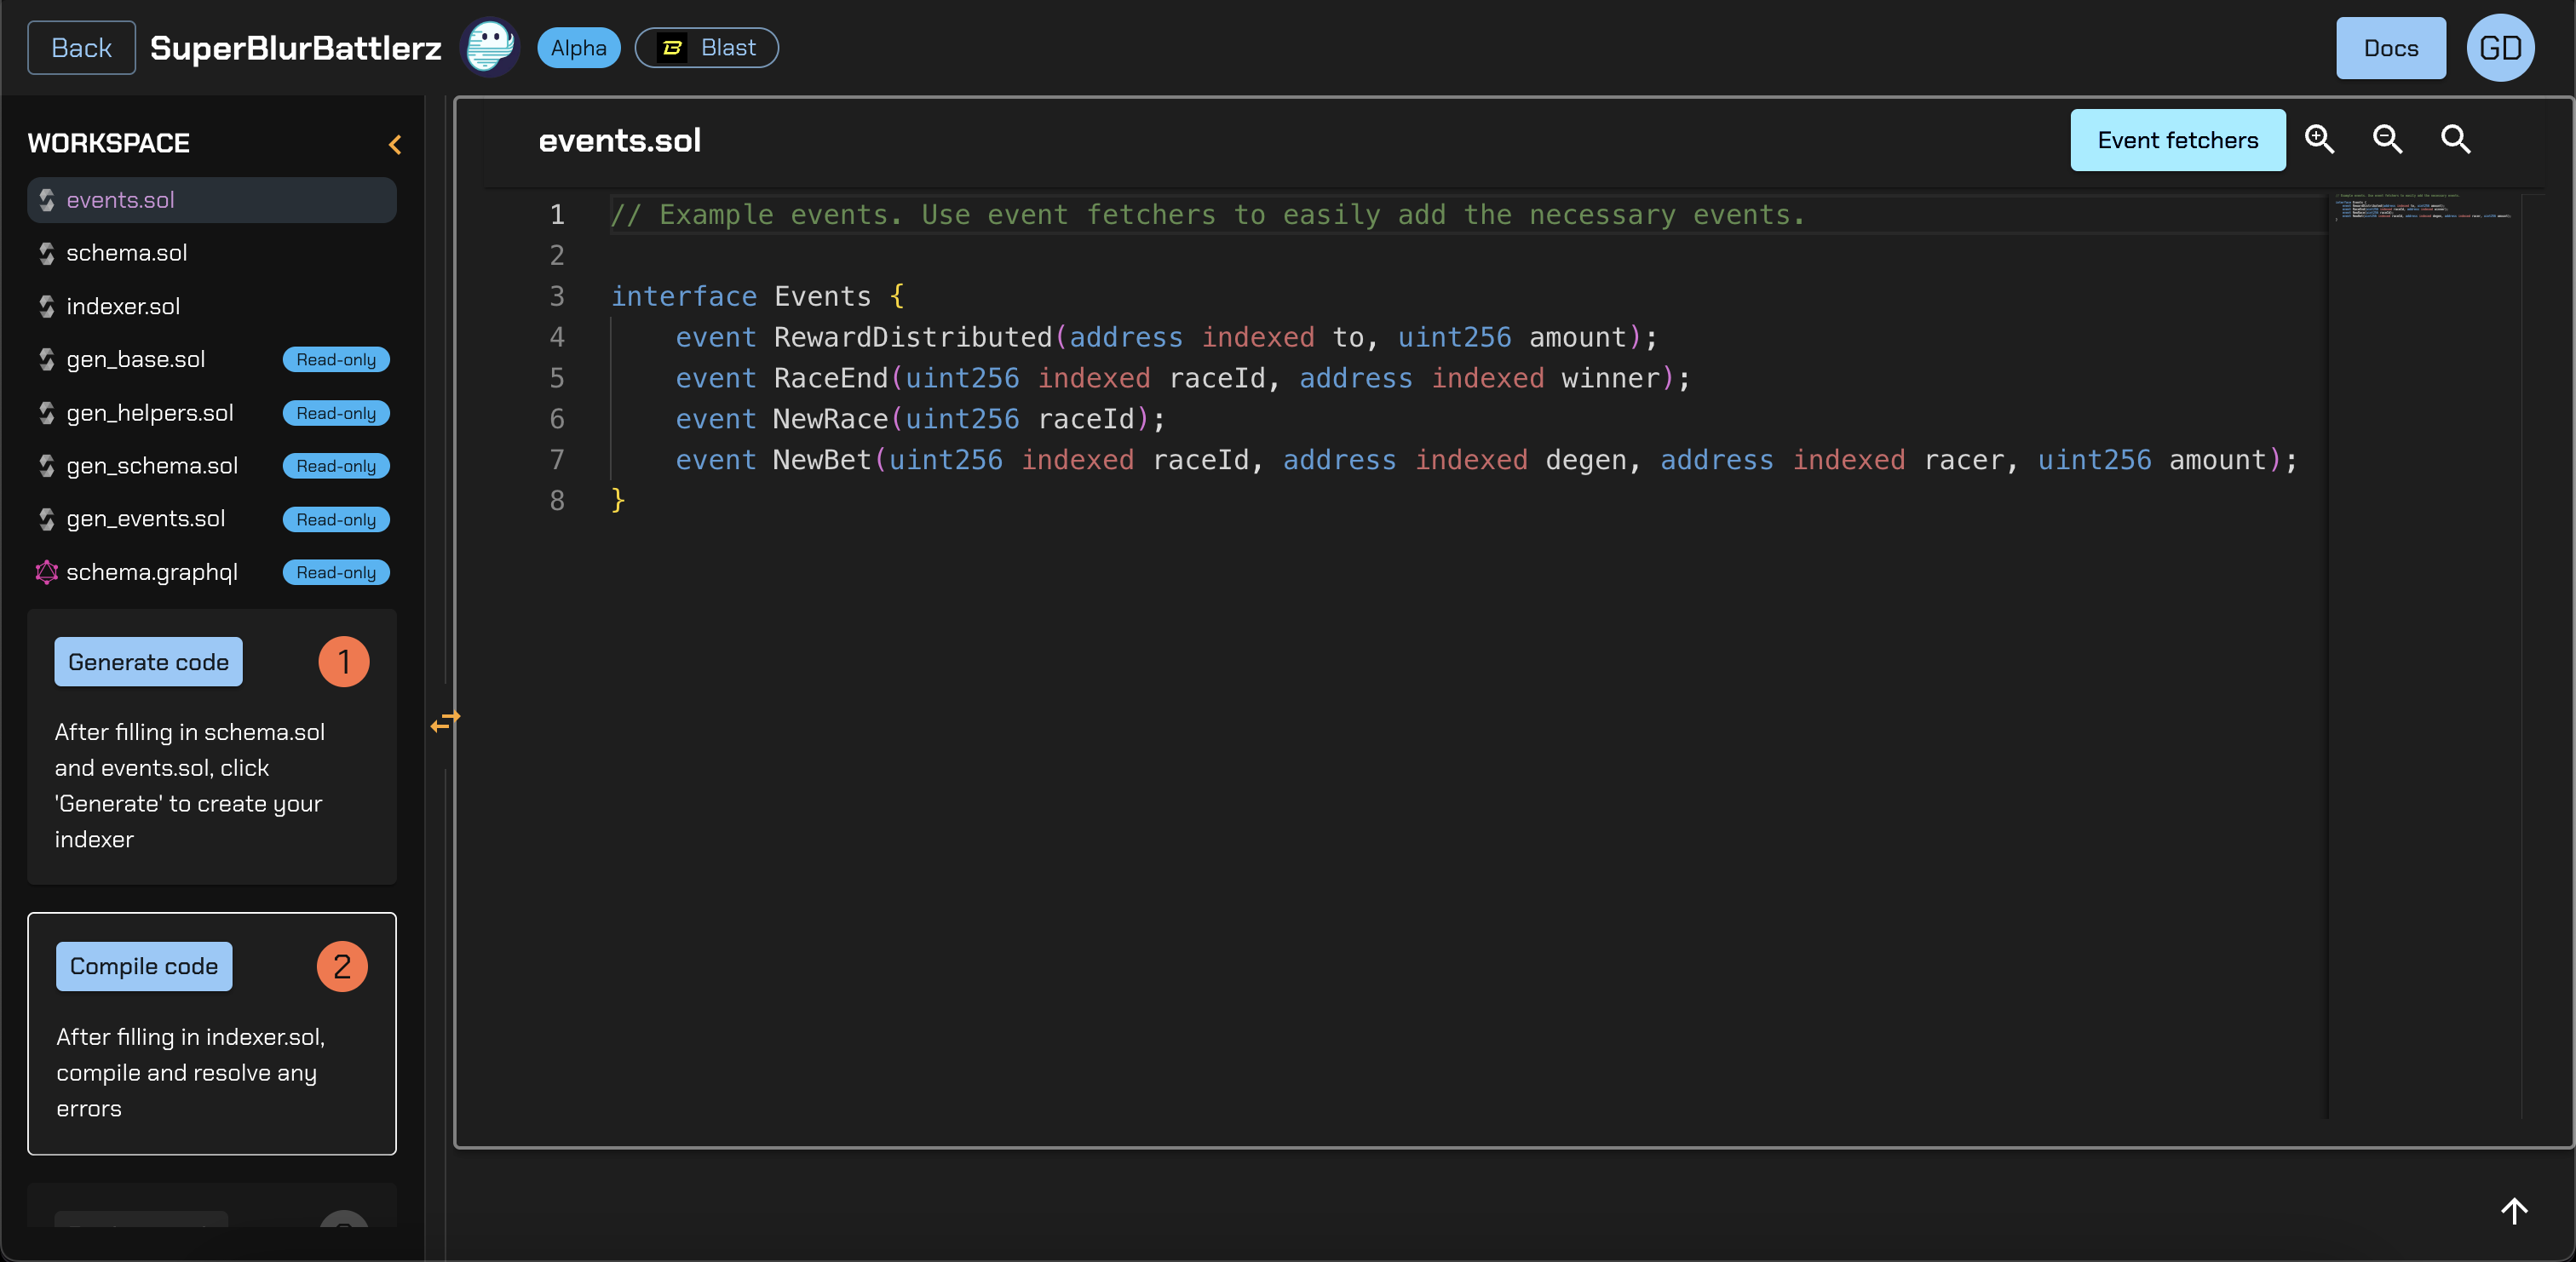
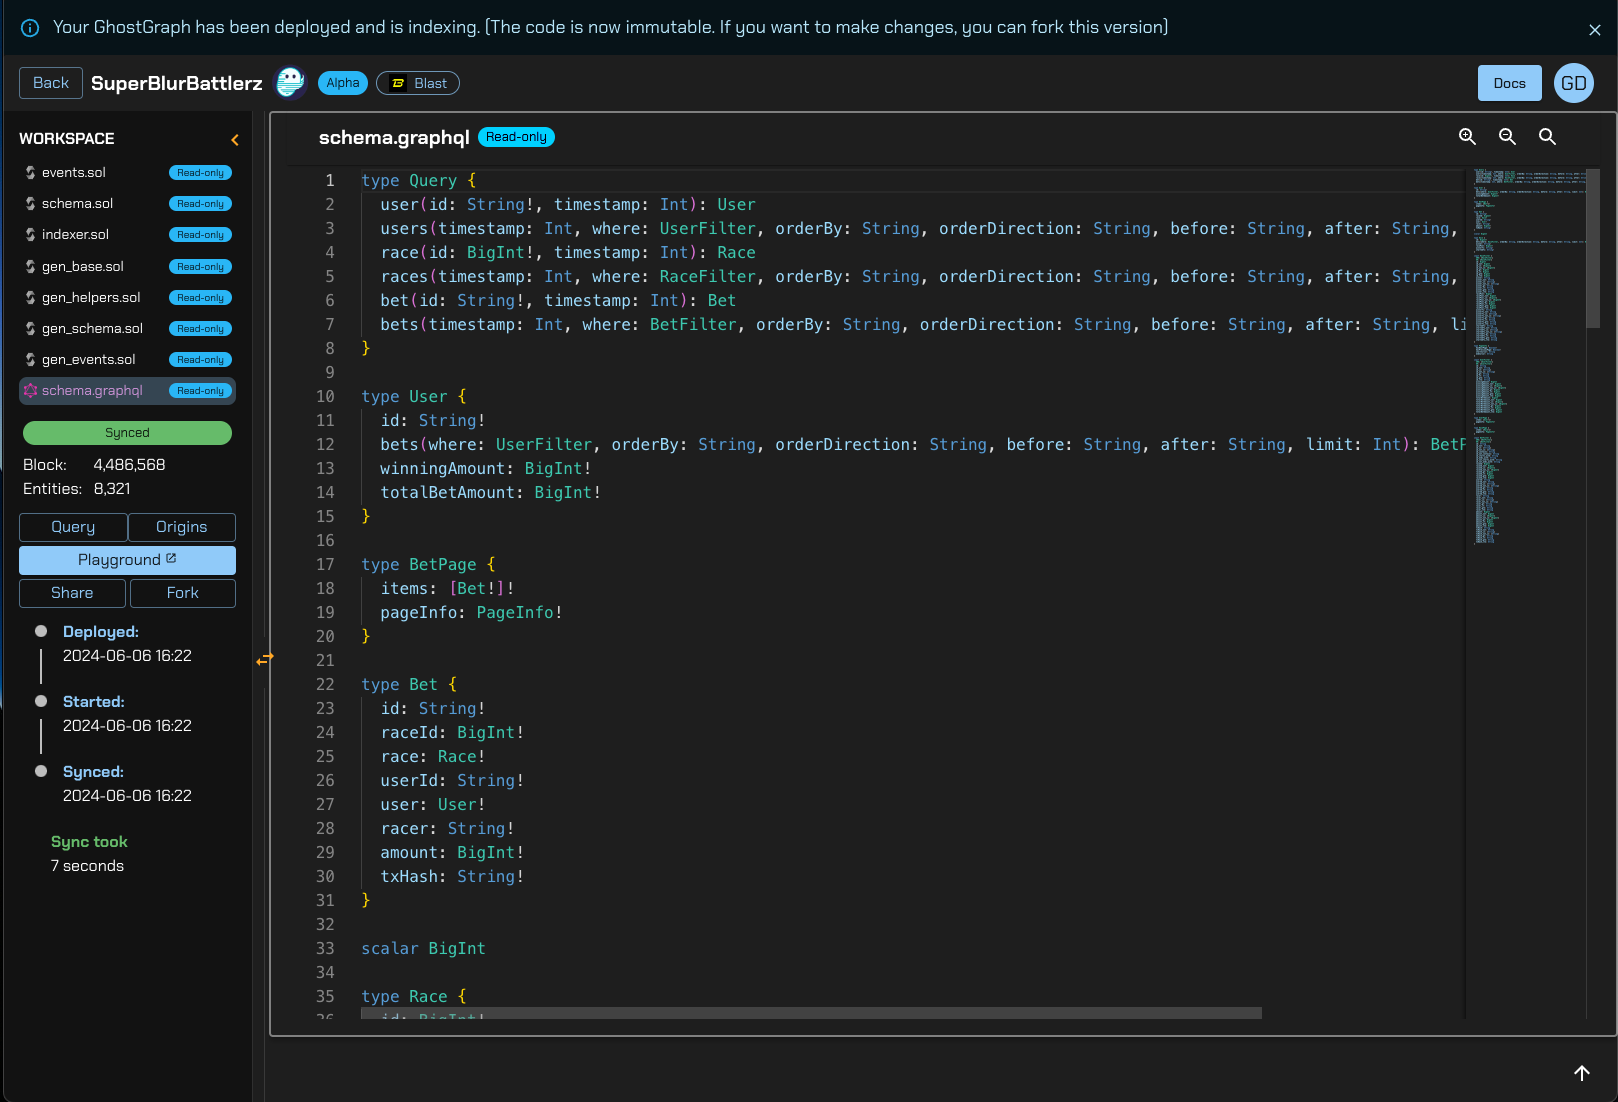
Code Editor Overview
There are three primary files you need to understand:
- Events.sol — Defines the events to track.
- Schema.sol — Defines the entities used to store data.
- Indexer.sol — Contains the logic to transform events into entities.
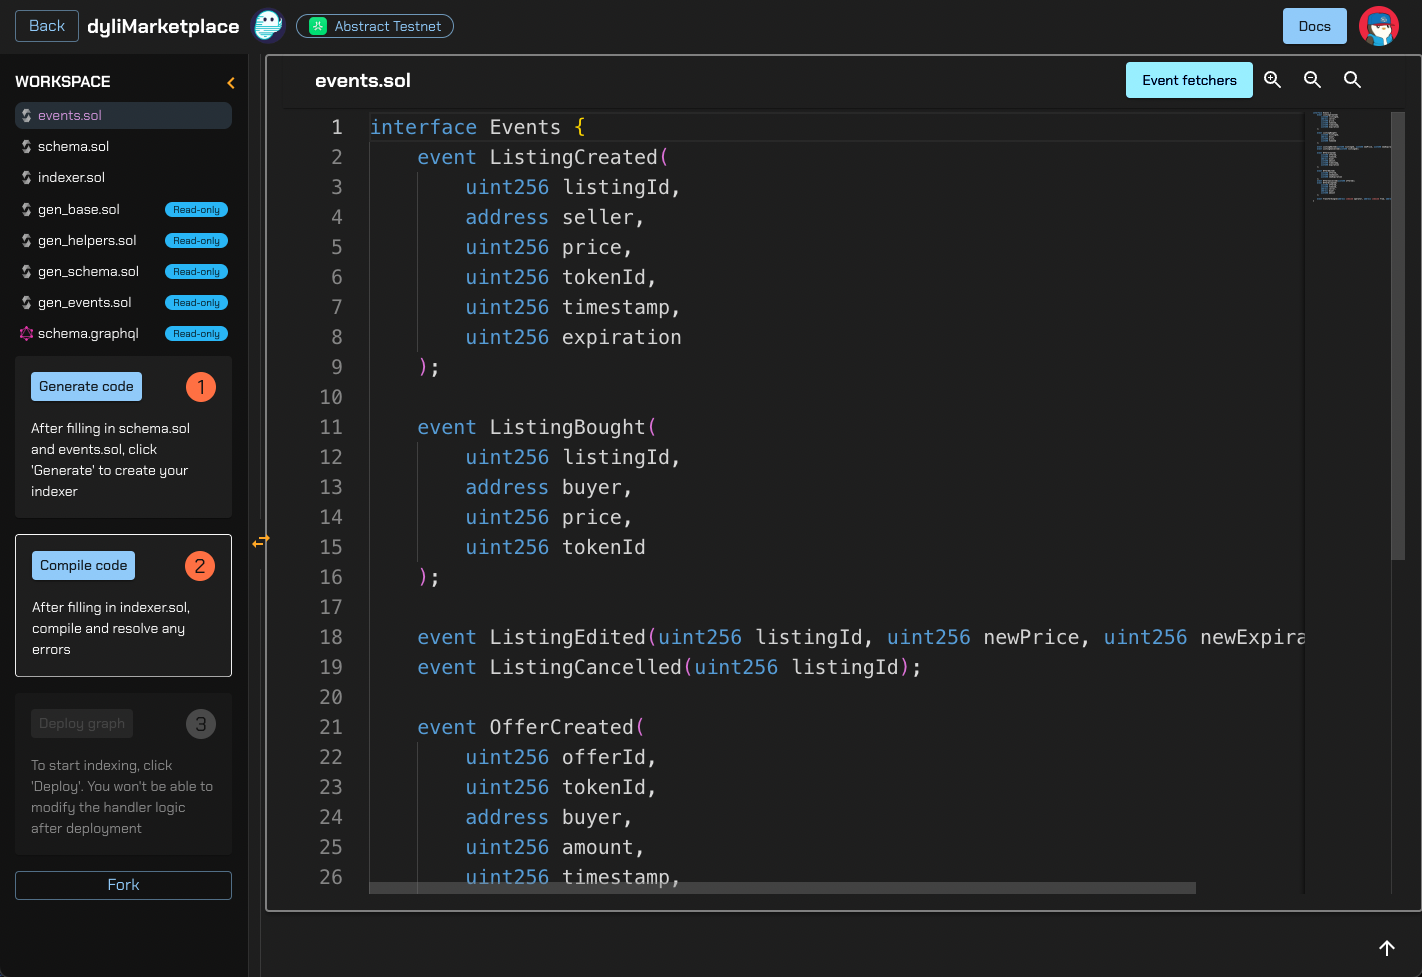
Events.sol
Track the Transfer and EncounterResolved events.
interface Events {
    event Transfer(
        address indexed from,
        address indexed to,
        uint256 indexed tokenId
    );

    event EncounterResolved(
        uint256 indexed encounterId,
        uint256 indexed winnerId,
        uint256 indexed loserId,
        address winnerPlayer,
        address loserPlayer,
        uint256 timestamp,
        uint256 battleCycle
    );
}
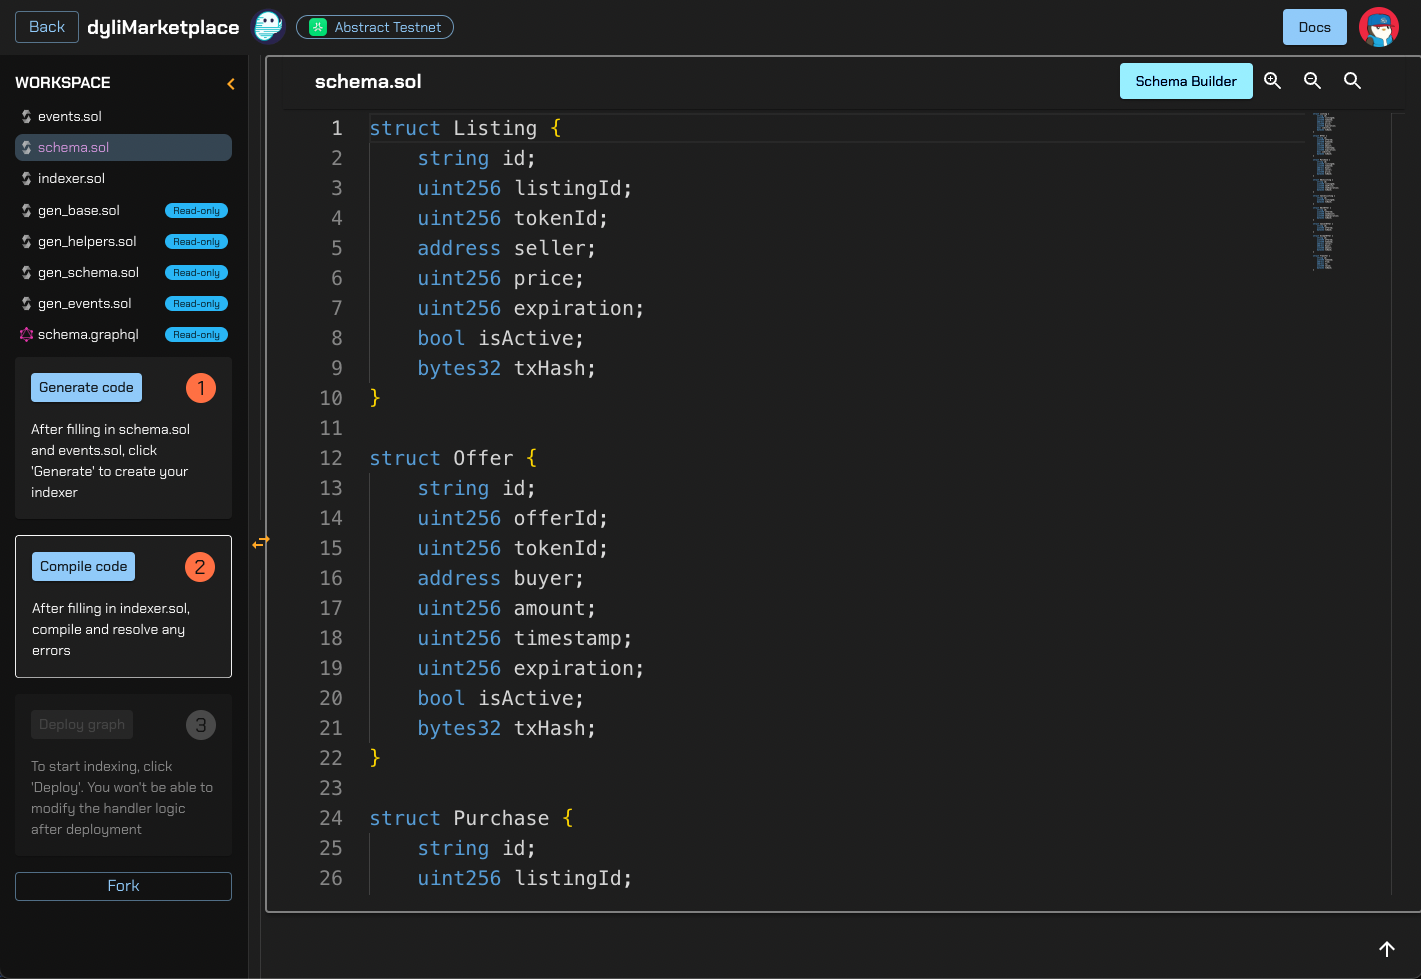
Schema.sol
Define the entities for storing event data.
struct Transfer {
    string id;
    address from;
    address to;
    uint256 tokenId;
    bytes32 transactionHash;
}

struct EncounterResolved {
    string id;
    uint256 encounterId;
    uint256 winnerId;
    uint256 loserId;
    address winnerPlayer;
    address loserPlayer;
    uint256 timestamp;
    uint256 battleCycle;
    bytes32 transactionHash;
}
Compile the schema to generate read-only files and Indexer.sol.
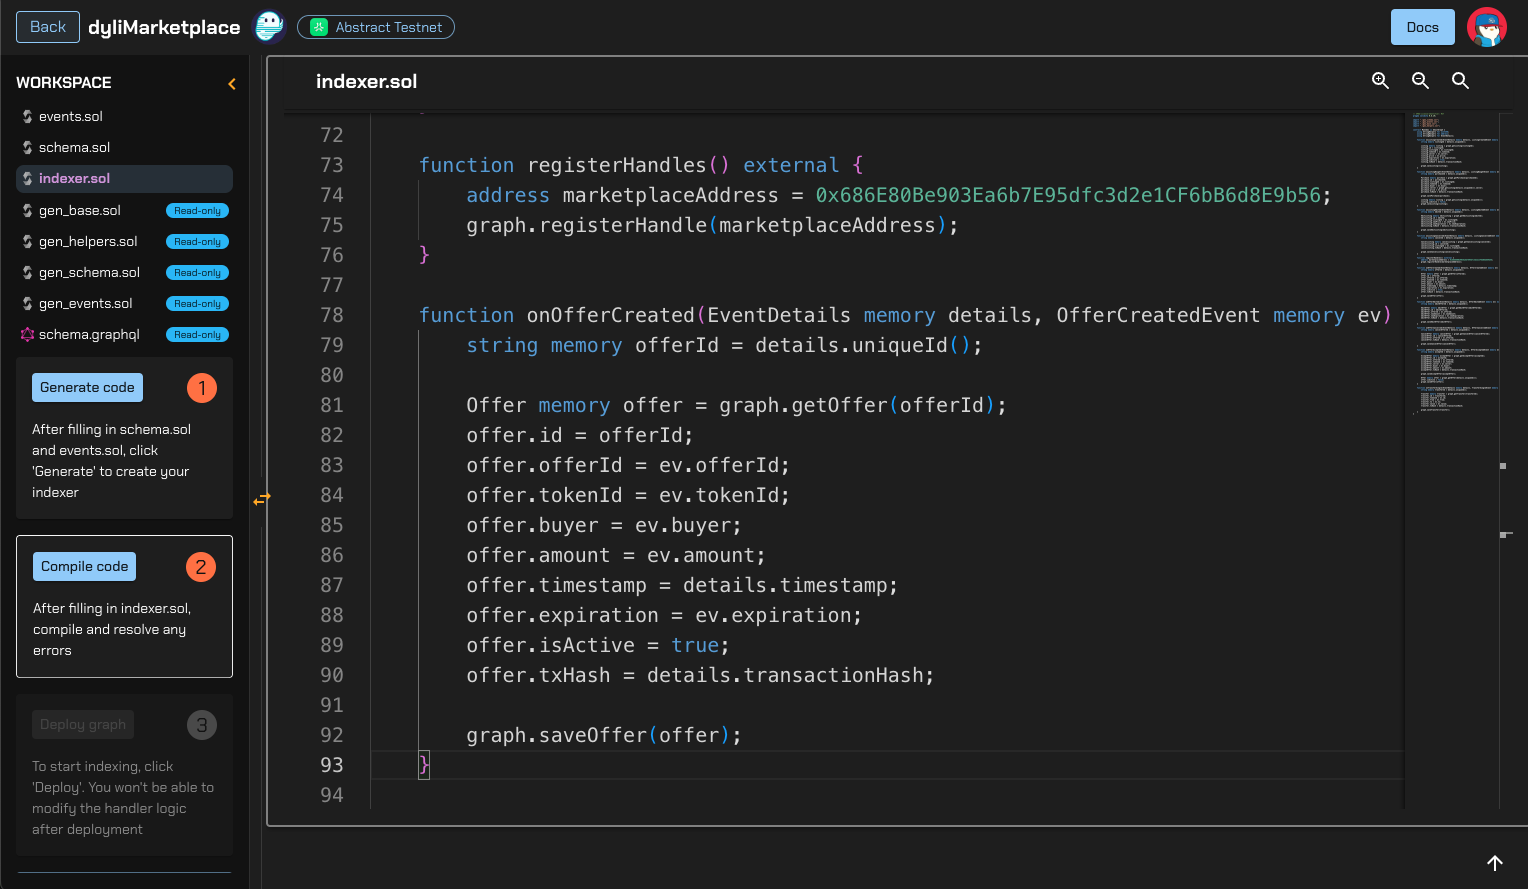
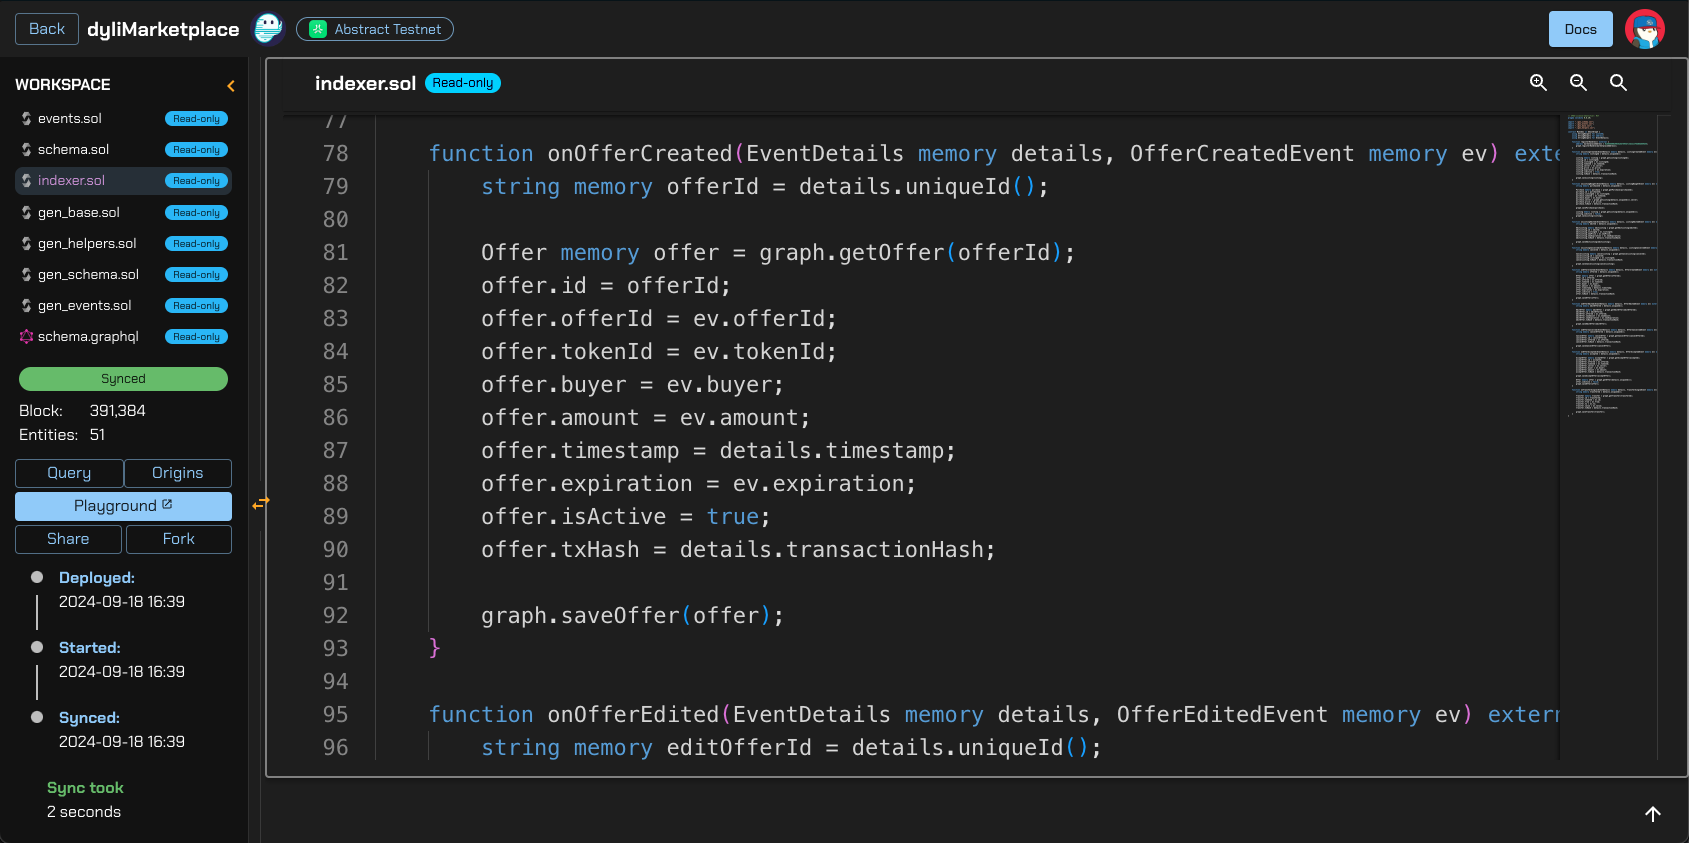
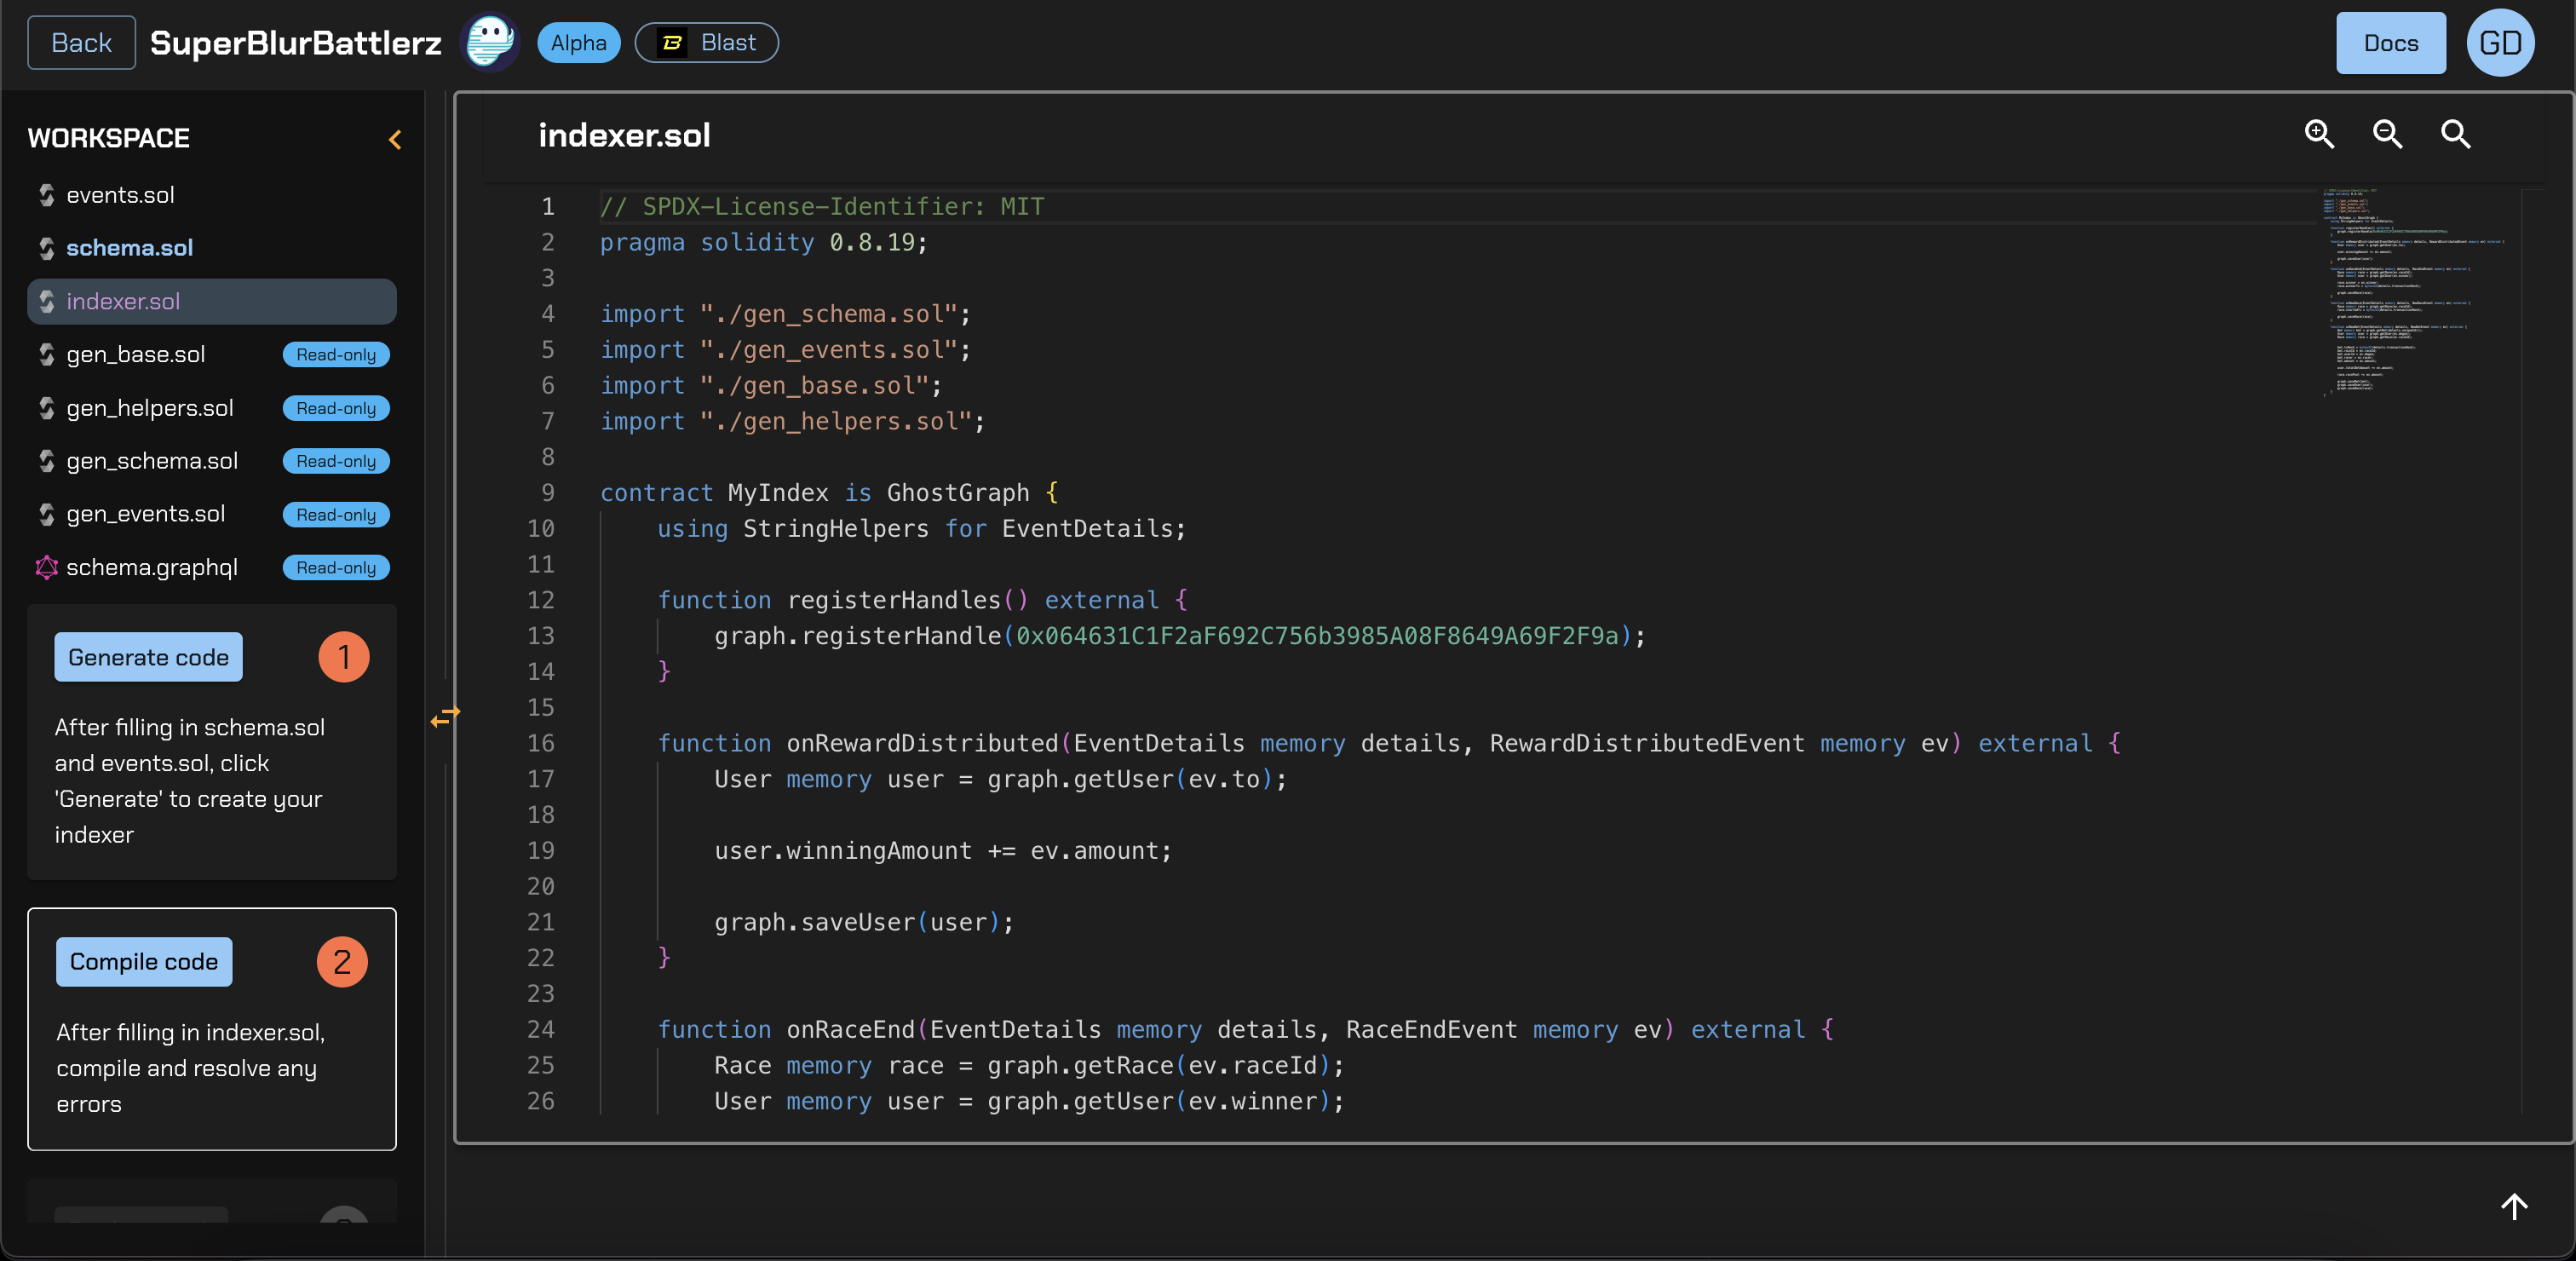
Indexer.sol
Register contract addresses and implement event handlers.
// SPDX-License-Identifier: MIT
pragma solidity 0.8.19;

import "./gen_schema.sol";
import "./gen_events.sol";
import "./gen_base.sol";
import "./gen_helpers.sol";

contract MyIndex is GhostGraph {
    using StringHelpers for EventDetails;
    using StringHelpers for uint256;
    using StringHelpers for address;

    address constant UNIMON_HOOK = address(0x7F7d7E4a9D4DA8997730997983C5Ca64846868C0);
    address constant UNIMON_BATTLES = address(0xEBc5E87691a335747C9a516Cd31ABe6fBE584866);

    function registerHandles() external {
        graph.registerHandle(UNIMON_HOOK);
        graph.registerHandle(UNIMON_BATTLES);
    }

    function onEncounterResolved(EventDetails memory details, EncounterResolvedEvent memory ev) external {
        EncounterResolved memory encounter = graph.getEncounterResolved(details.uniqueId());
        encounter.encounterId = ev.encounterId;
        encounter.winnerId = ev.winnerId;
        encounter.loserId = ev.loserId;
        encounter.winnerPlayer = ev.winnerPlayer;
        encounter.loserPlayer = ev.loserPlayer;
        encounter.timestamp = ev.timestamp;
        encounter.battleCycle = ev.battleCycle;
        encounter.transactionHash = details.transactionHash;

        graph.saveEncounterResolved(encounter);
    }

    function onTransfer(EventDetails memory details, TransferEvent memory ev) external {
        Transfer memory transfer = graph.getTransfer(details.uniqueId());
        transfer.from = ev.from;
        transfer.to = ev.to;
        transfer.tokenId = ev.tokenId;

        transfer.transactionHash = details.transactionHash;
        graph.saveTransfer(transfer);
    }
}
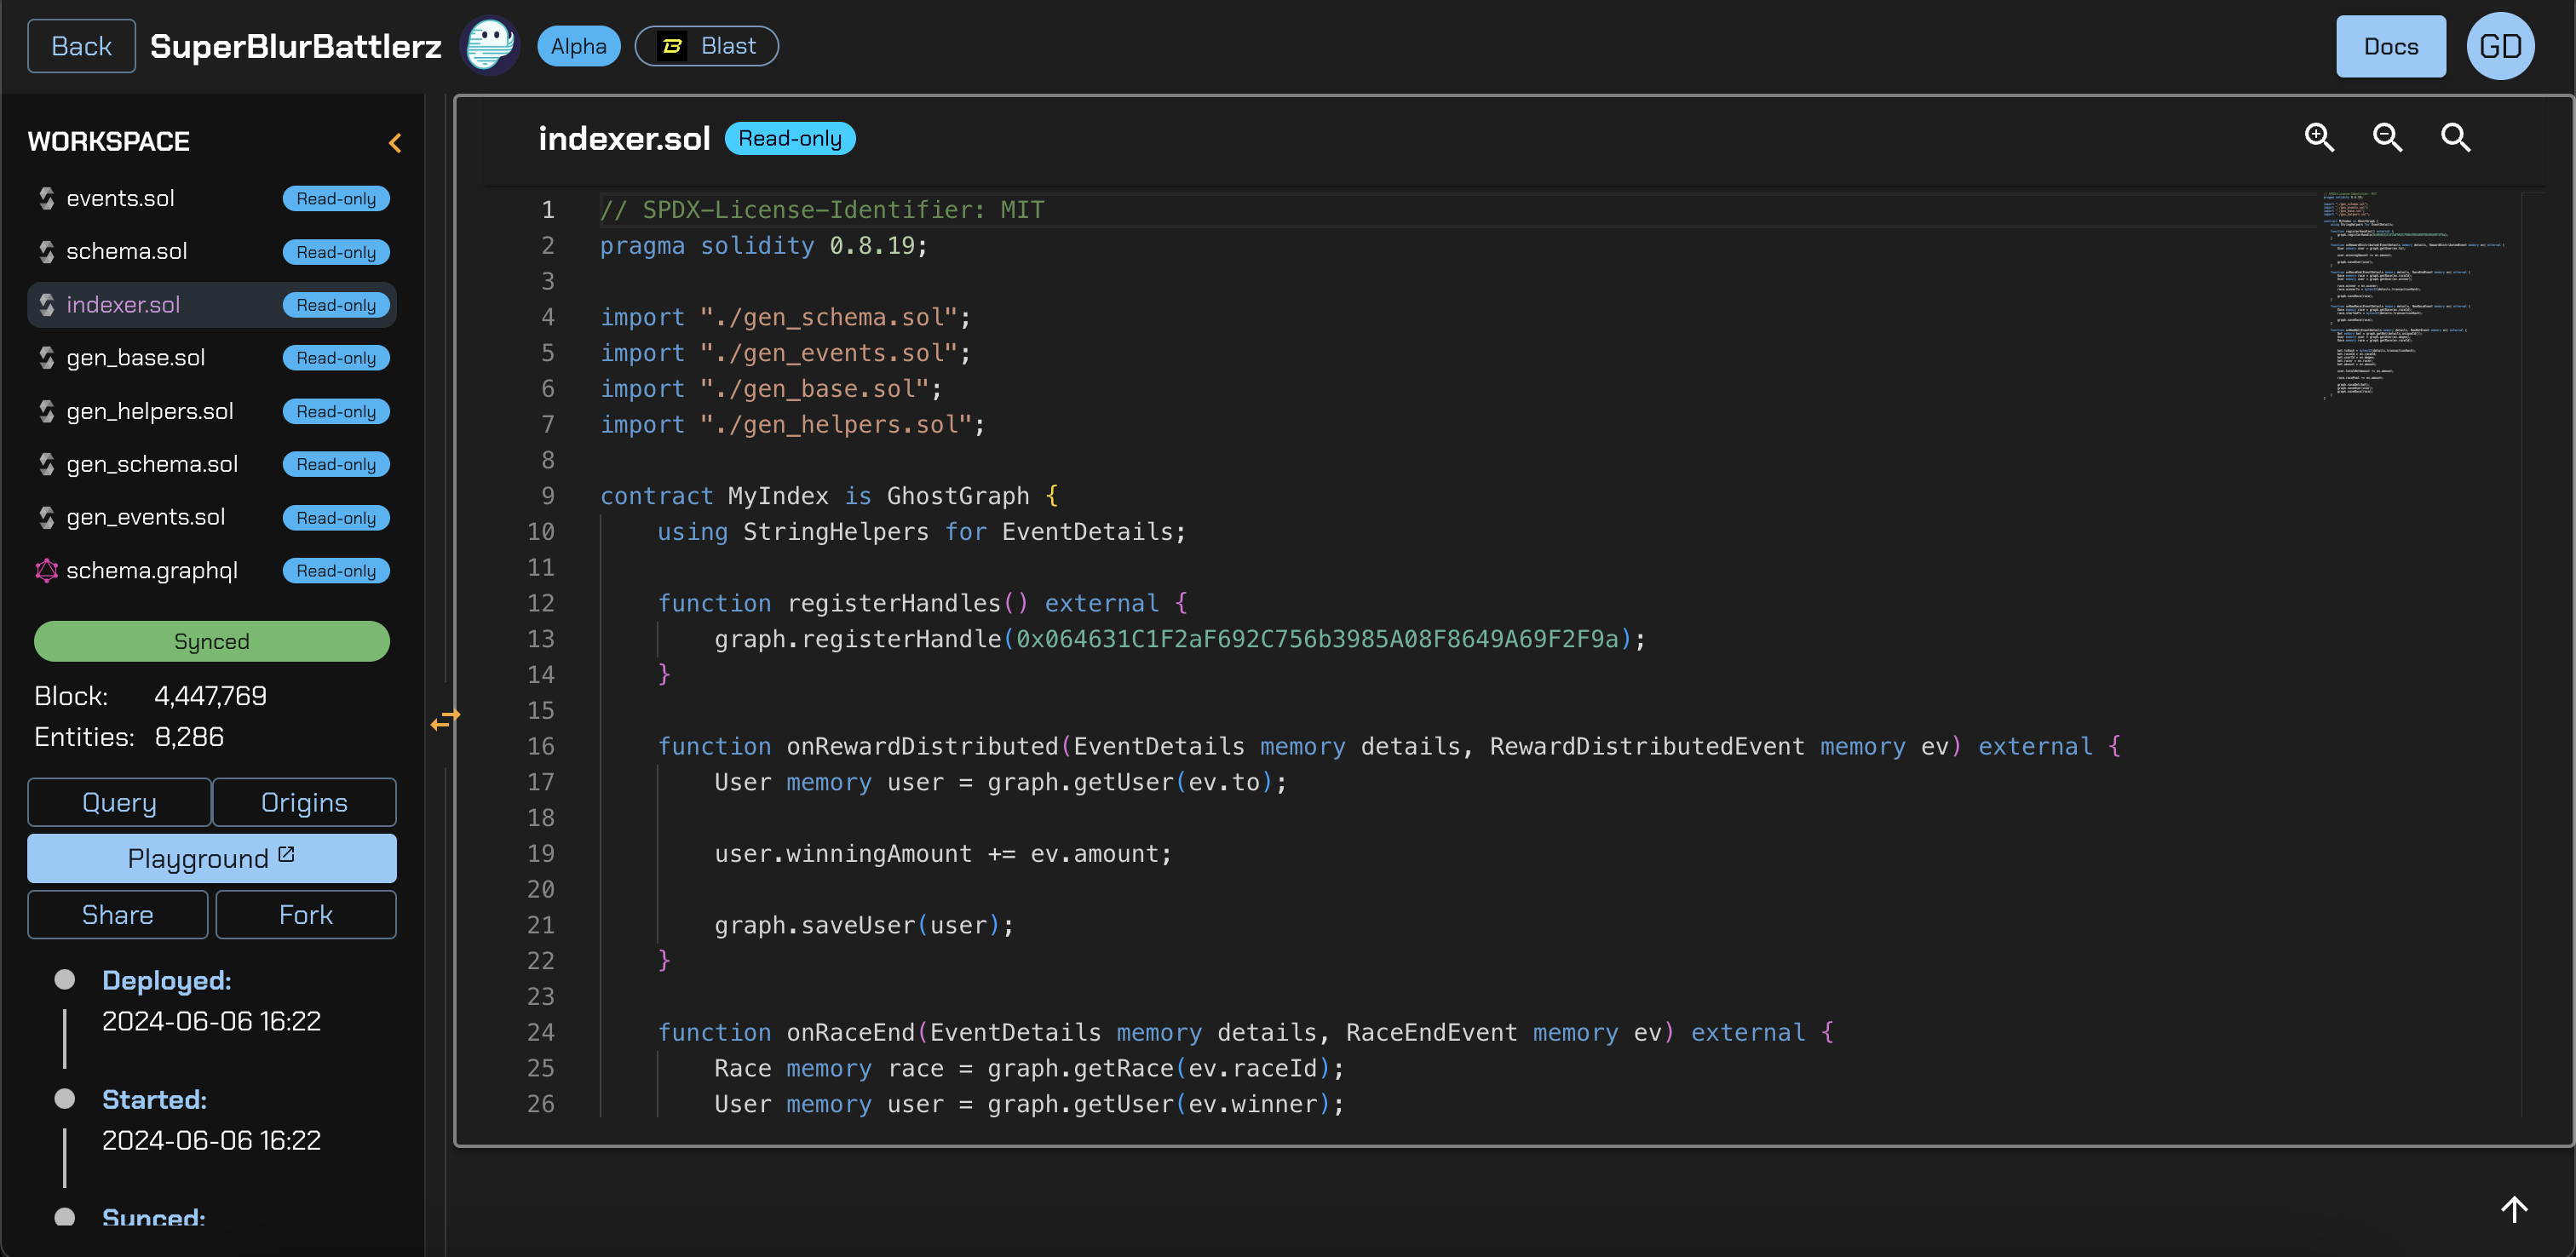
Compile & Deploy
- Compile the GhostGraph indexer.
- Deploy the indexer contract.
- Wait a few seconds for synchronization and entity counts to update.
- Click Playground to open the GraphQL interface.
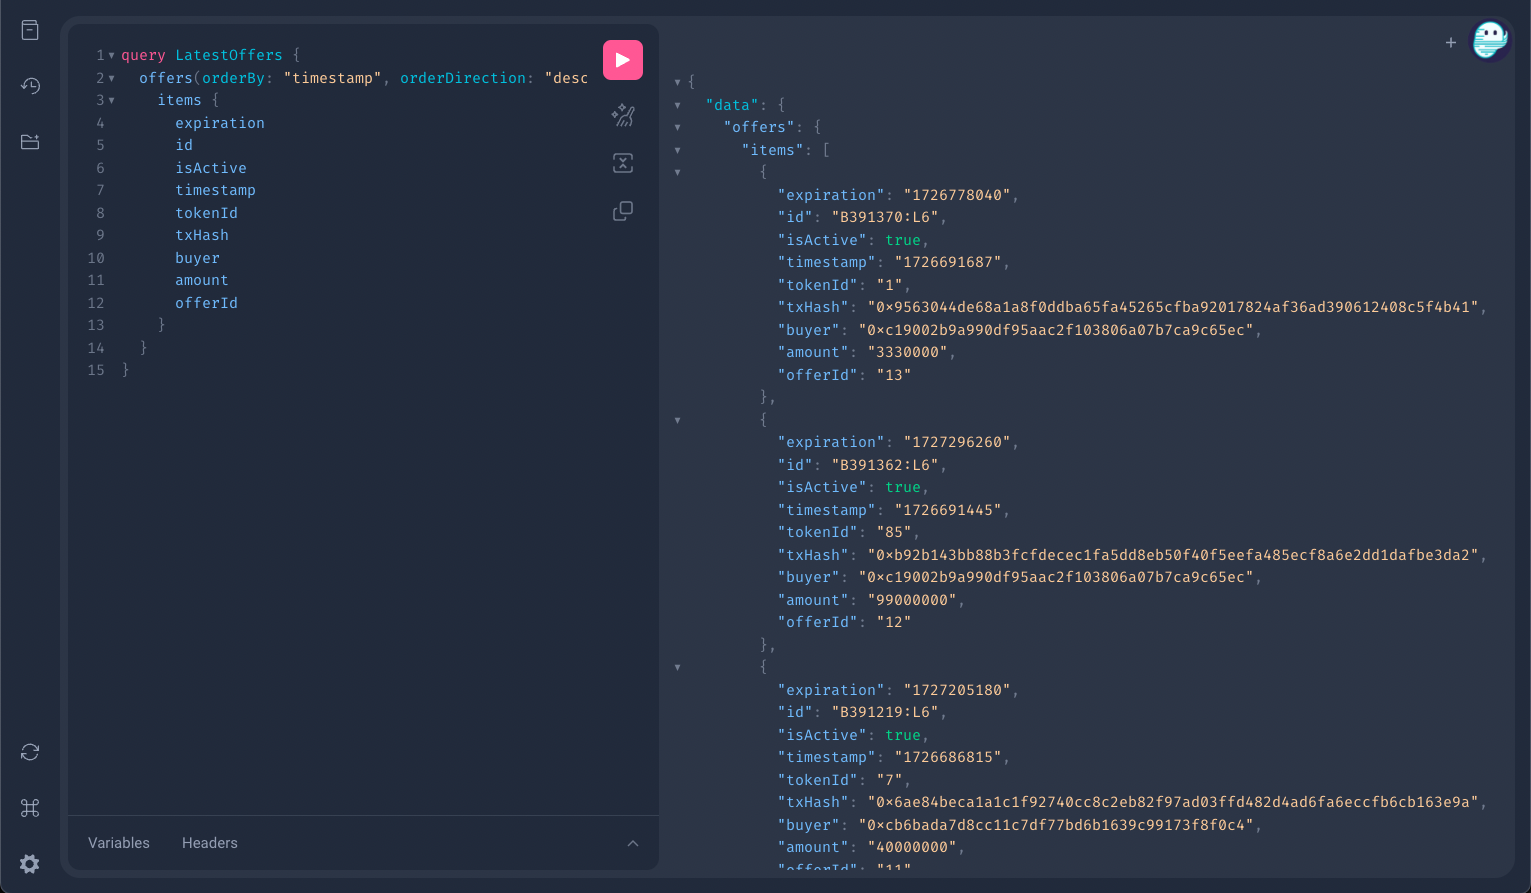
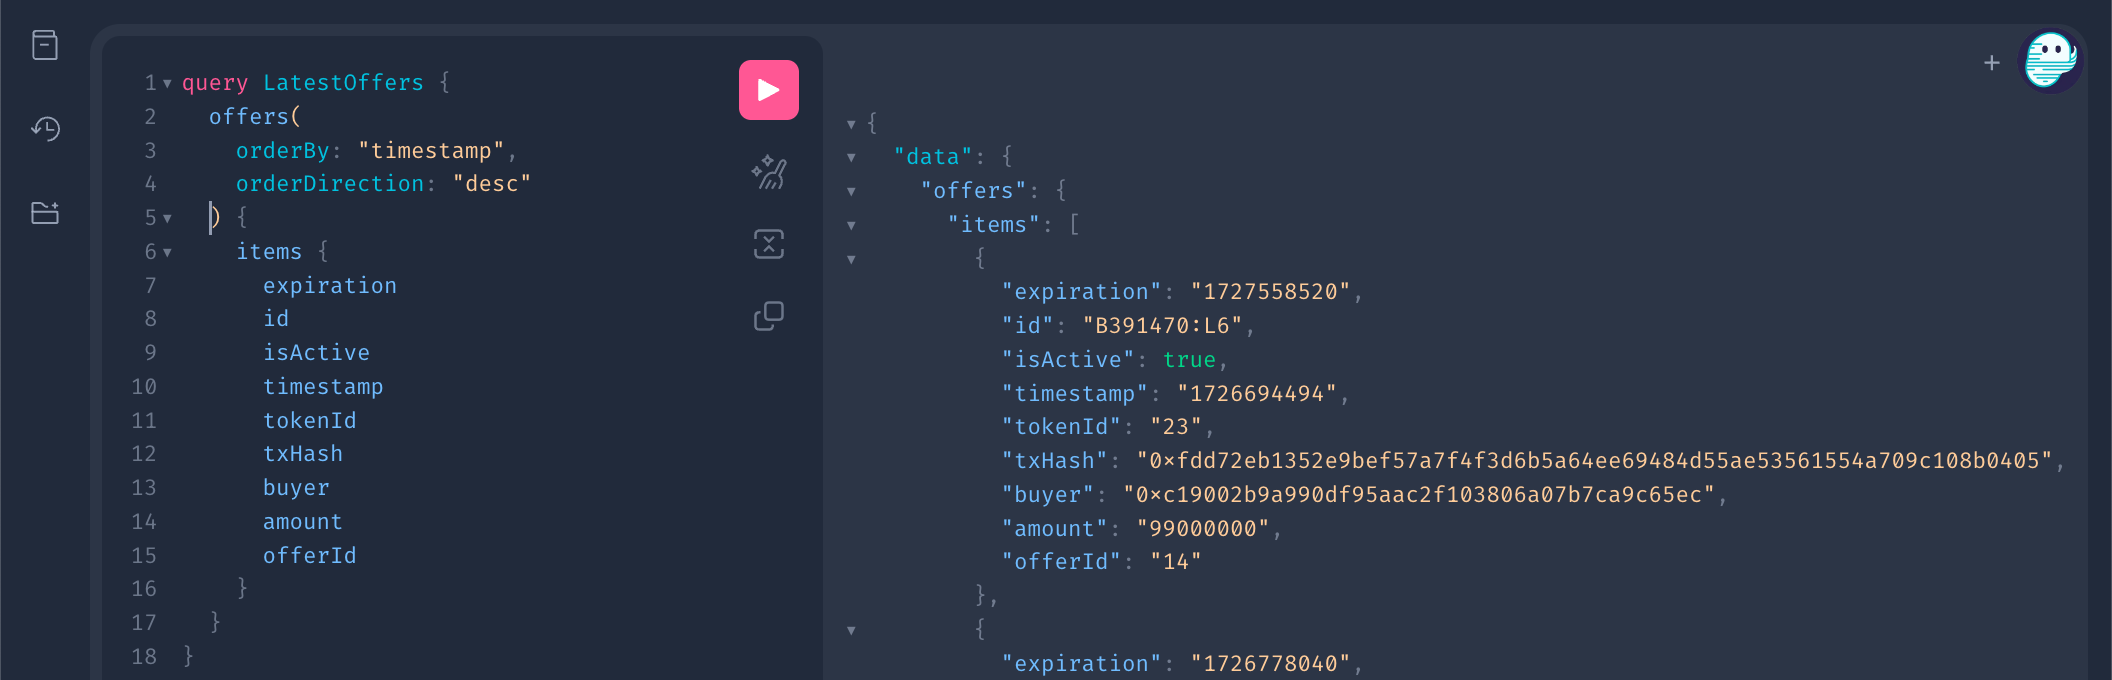
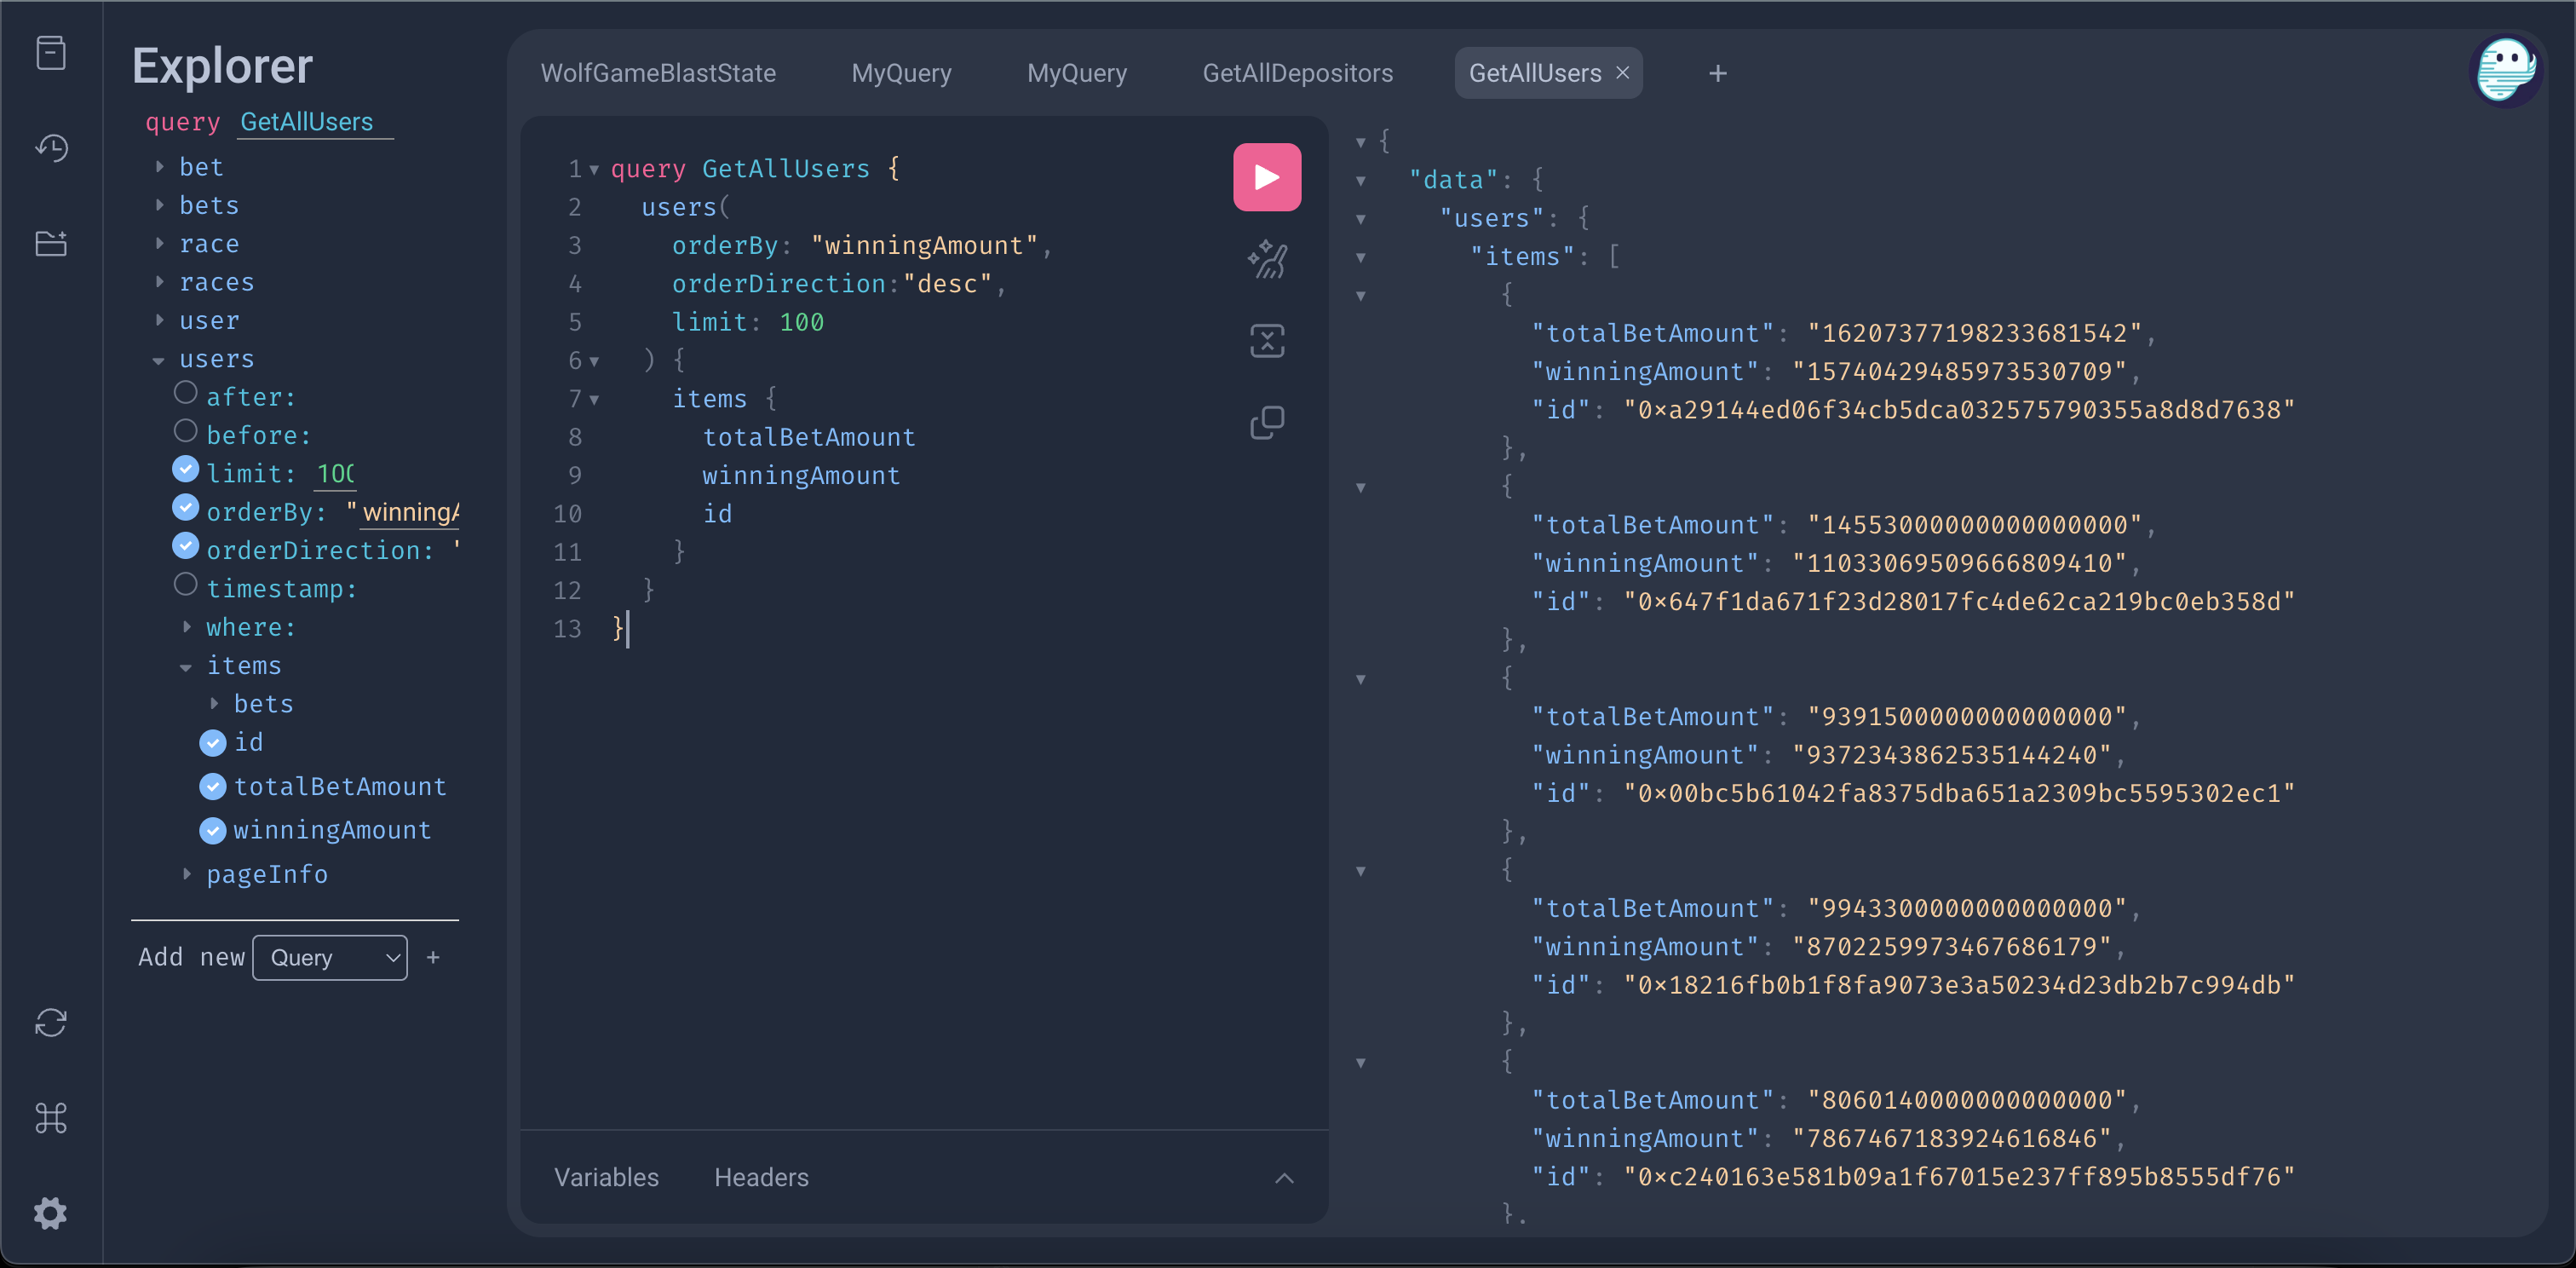
Querying with GraphQL
Use the following query to retrieve the most recent encounters:
query GetLatestEncounters {
  encounterResolveds(
    orderBy: "timestamp",
    orderDirection: "desc"
  ) {
    items {
      id
      encounterId
      winnerId
      loserId
      winnerPlayer
      loserPlayer
      battleCycle
      timestamp
      transactionHash
    }
  }
}
Next Steps
Learn how to integrate your real-time indexer with a frontend: Connect Ghost Graph to Frontend
Join Our Communities
- Twitter: @0xGhostLogs, @unimonapp
- Telegram: Ghost Devs TG, Unimon TG